 In this series of posts I’m going to take a look at the Config AD product from Fastpath which adds single sign-on to the Dynamics GP desktop client; you can find my series index here.
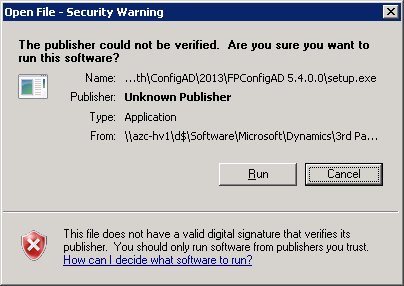
Once you have the Config AD installer extract the files and run the setup.exe on your Domain Controller server. Depending on your security setup you may see the following warning to which you should click Run:
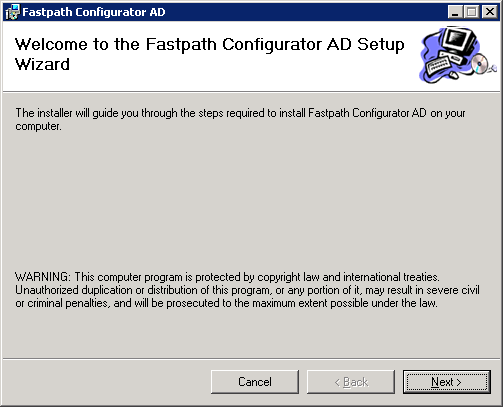
This will start the installer and display the welcome screen; click Next to proceed:
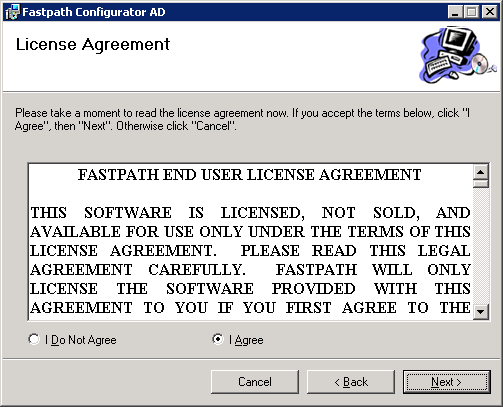
Accept the License Agreement:
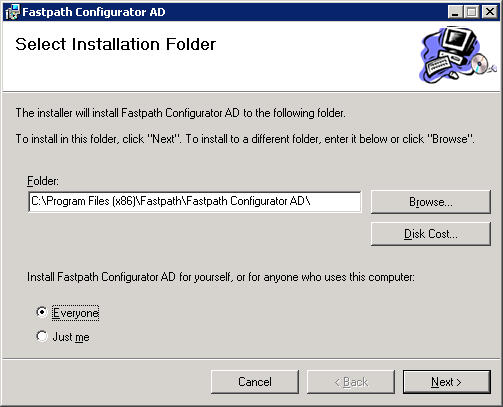
Change the install path if you need to (I typically leave installers to go to the default locations) and choose who Config AD should be available for (I have changed the option to Everyone:
Select your option for installing the Active Directory right-click menu; I have chosen to install it for both users and groups:
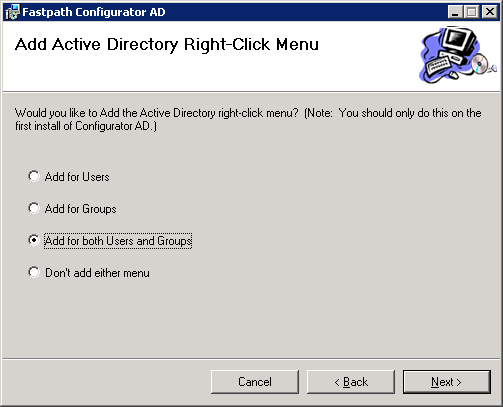
Confirm the installation should be done by clicking Next:
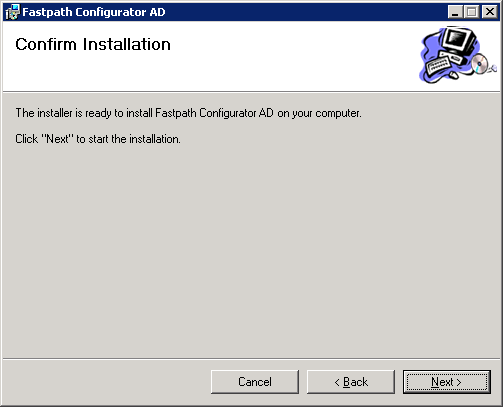
Once installation is complete click Close:
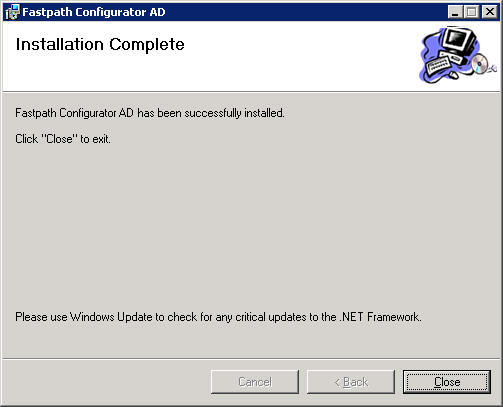


3 thoughts on “Implementing Fastpath’s Config AD: Installation”