 Microsoft Dynamics GP 2013 R2 is now available. And despite notavailable. And despite note really having the time to do so at the moment, I can’t stop myself from installing it (and as I always do blogging about it as I go).
In this series of posts I am going to do install a stand-alone instance of Microsoft Dynamics GP 2013 R2; the index for this series is here.
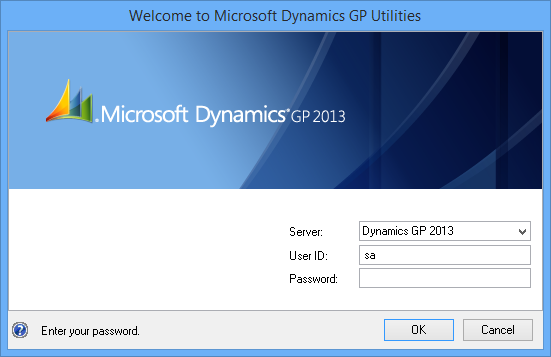
With the
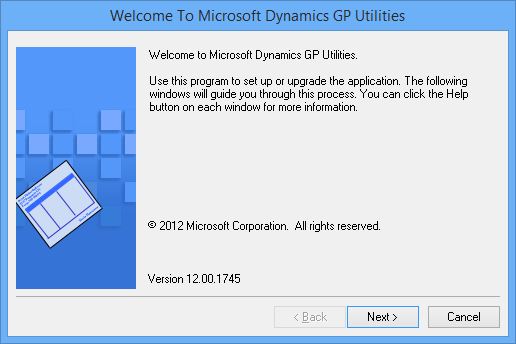
On the Welcome screen, click Next >:
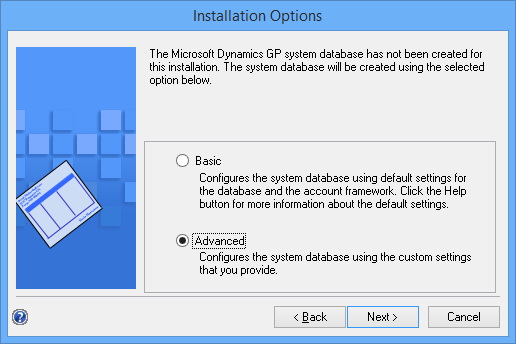
Choose Advanced as it is always best to change the defaults when deploying the system database (these choices will have a huge impact on how you can configure and use Dynamics GP):
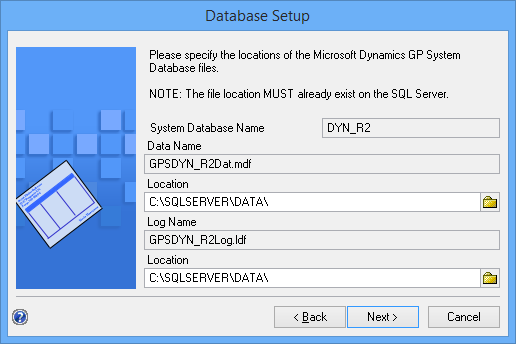
Enter the SQL Server data and logs folders. This window always defaults to the installation path of SQL Server and not the default locations you specified when settinu up SQL Server which is one of the reasons I always take the Advanced installation option:
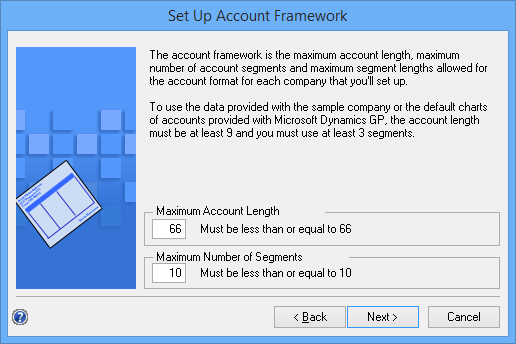
Enter a Maximum Account Length of 66 and Maximum Number of Segments of 10. These are the maximum allowed by Dynamics GP and there is no reason not to enter the maximums here as it will allow greater flexibility in future if your needs evolve:
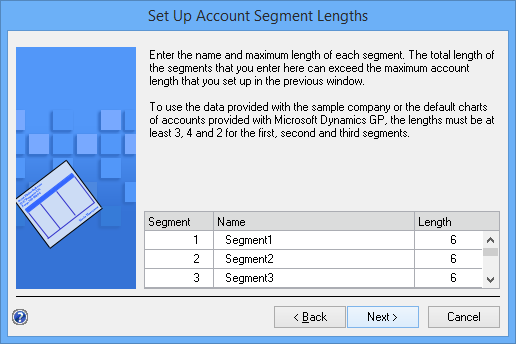
The account segment names and lengths can be changed if required on the Set Up Account Segment Lengths:
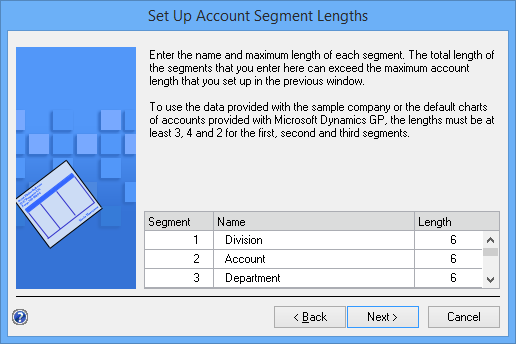
In this case I have left the lengths as they are as I won’t have any segments longer than six characters, but I have renamed the segments:
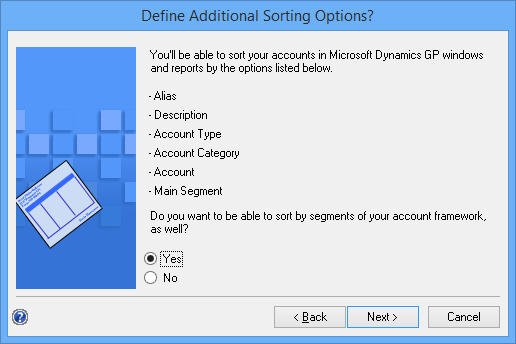
Choose whether to have any additional sorting options:
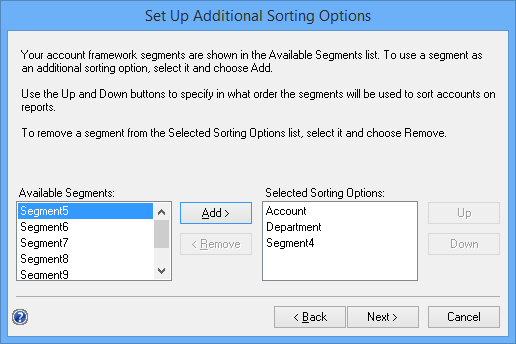
As I opted to have the additional sorting options, I can choose which segments (other than the first) I will be able to sort by moving them from the list on the left to the right:
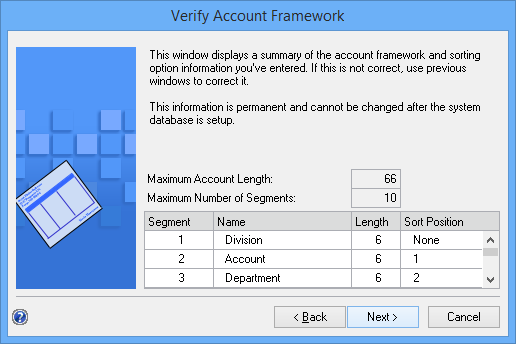
Verify your account framework:
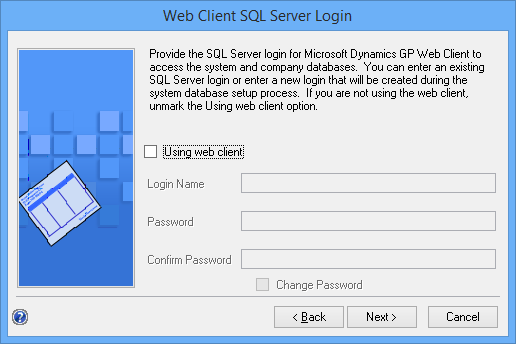
The next step, Web Client SQL Server Login stage is a new one in GP 2013 R2. I will need to do some reading up, but I imagine this is for when the Identity Management – Login is being used to allow single sign-on using Domain Authentication. The installation I am doing at the moment is a stand alone test install which will not be using the Web Client so I have unmarked the Using web client checkbox:
If your SQL Server does not have a DYNSA user there will be a step asking you to define the password. My SQL Server is being used for GP 2013 SP2 already so that prompt was not displayed to me.
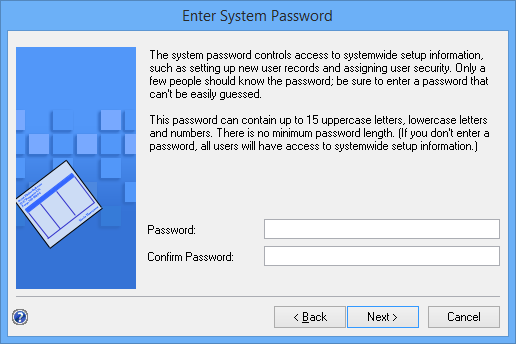
Instead I was jumped straight to the System Password step:
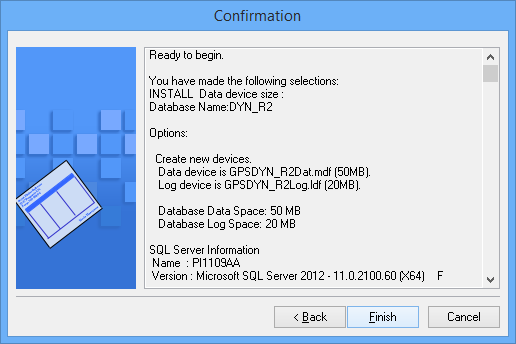
Check your deployment options and click Finish to deploy the system database:
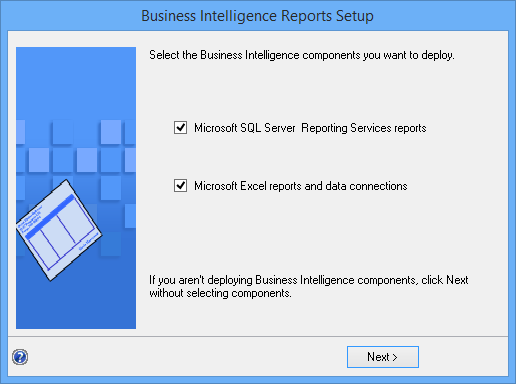
Once the system database and all tables, stored procedues and so on have been deployed, you will be prompted to choose which Business Intelligence options you want to deploy; I have opted for both the Reporting Services and Excel Reports:
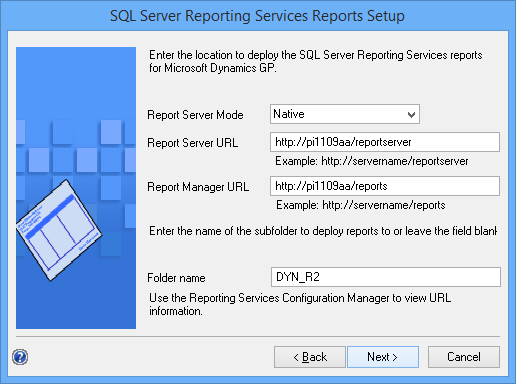
The next step is the SQL Server Reporting Services Setup. Choose which Report Server Mode to use; I have opted for Native (rather than SharePoint and have entered the Report Server URL and Report Manager URL.
I have also chosen to deploy my reports into a folder on the report server as I already have the GP 2013 SP2 reorts deployed:
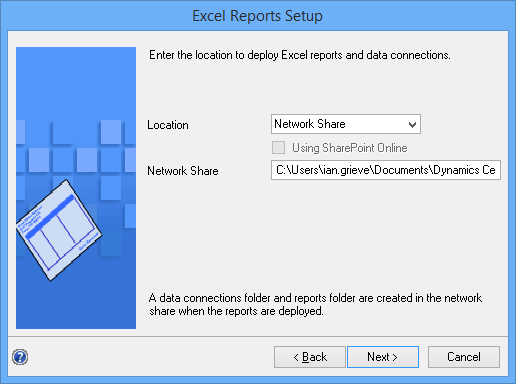
Next specify the location of the Excel Reports; again these could be deployed to SharePoint, but I have selected a Network Share:
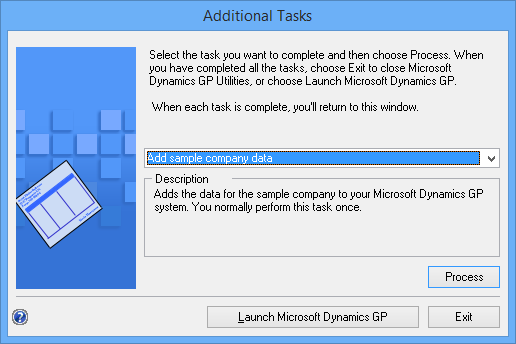
The final task is the Additional Tasks step where you can choose to deploy the sample company or create a company:
Click to show/hide the Installing Microsoft Dynamics GP 2013 R2 Series Index
| Installing Microsoft Dynamics GP 2013 R2 |
|---|
| Installing The Client Software |
| Deploying The System Database |
| Adding The Sample Company |
| Creating A Company |
What should we write about next?
If there is a topic which fits the typical ones of this site, which you would like to see me write about, please use the form, below, to submit your idea.


1 thought on “Installing Microsoft Dynamics GP 2013 R2: Deploying The System Database”