 Microsoft Dynamics GP 2013 R2 is now available. And despite not really having the time to do so at the moment, I can’t stop myself from installing it (and as I always do blogging about it as I go).
In this series of posts I am going to do install a stand-alone instance of Microsoft Dynamics GP 2013 R2; the index for this series is here.
In the last post I deployed the System Database so now I can either deploy the sample company or create a new one. I’ve decided to start with deploying the sample company.
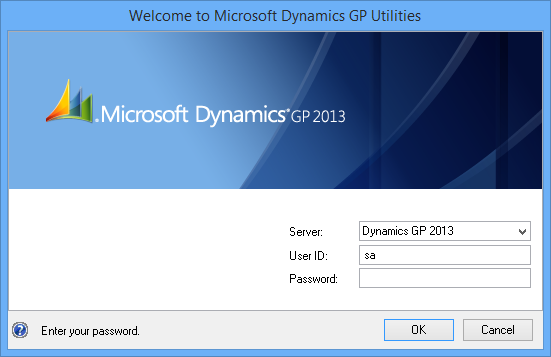
To do this launch GP Utilities and log in as the sa or DYNSA user:
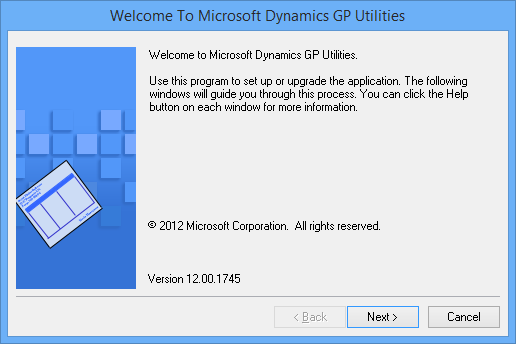
Click Next on the Welcome… screen:
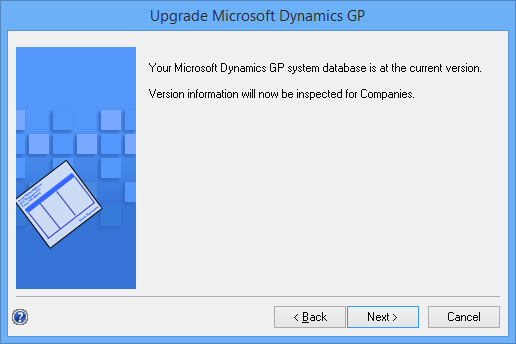
The system database will be verified to ensure it is at the correct version. After this check is complete, click Next:
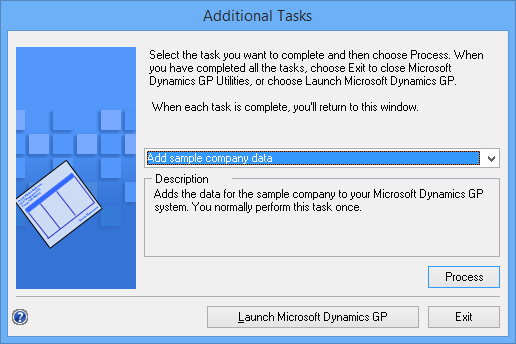
Select Add sample company data on the Additional Tasks step and click Process:
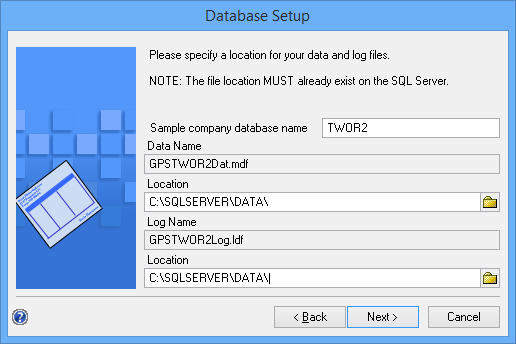
As I deployed my system database as DYN_R2 I have changed the Sample company database name to TWOR2 so I can easily pair the two together in SQL Server and have also updated the data and log file locations:
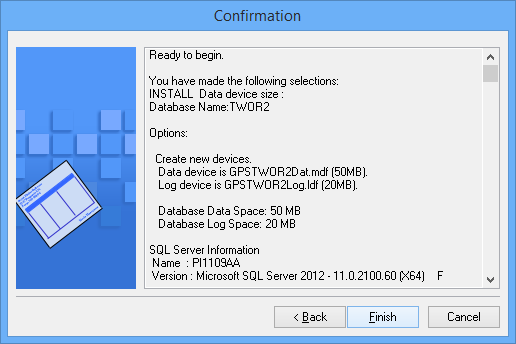
Check your entries on the Confirmation step and click Finish to deploy the database:
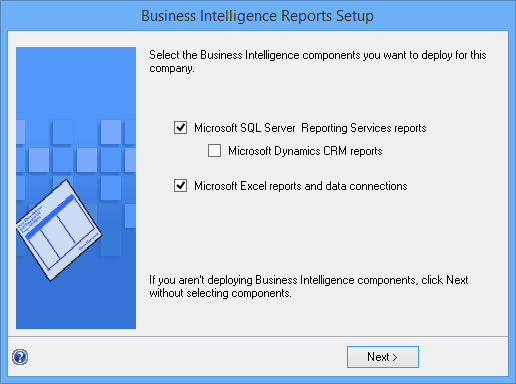
Once the database has been created and all objects deployed, the Business Intelligence Reports Setup window will be shown. Choose whether to deploy the Reporting Services and Excel Reports should be deployed:
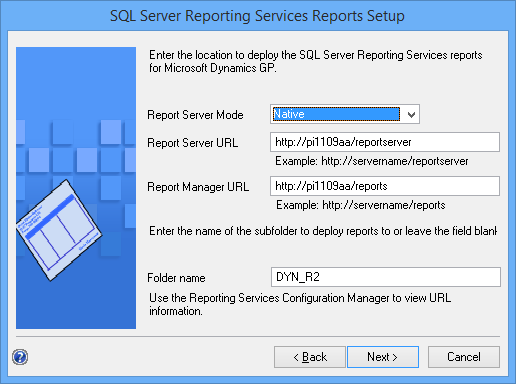
The settings for the SQL Server Reporting Services Reports Setup should default from the entries during the deployment of the system database, so check them and click Next to proceed:
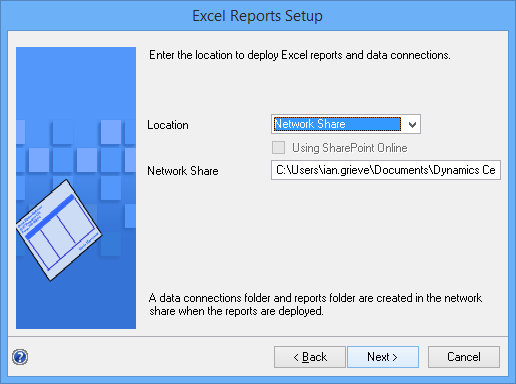
Likewise with the Excel Reports Setup:
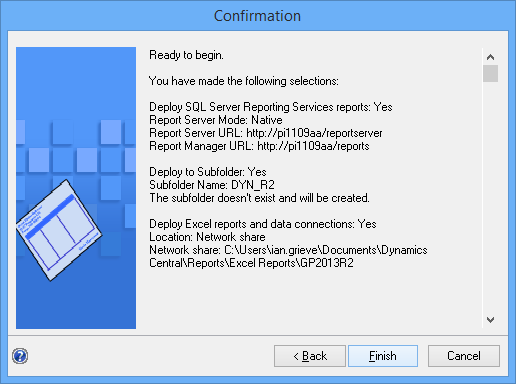
Check your selections and click Finish on the Confirmation step:
Once the deployment of the selected reports has completed, you will see the Additional Tasks step again:
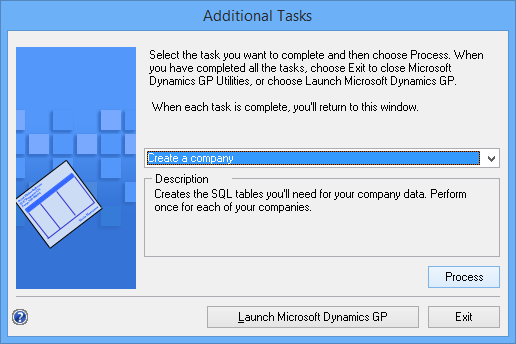
You can either process another task or launch Dynamics GP.
What should we write about next?
If there is a topic which fits the typical ones of this site, which you would like to see me write about, please use the form, below, to submit your idea.


2 thoughts on “Installing Microsoft Dynamics GP 2013 R2: Adding The Sample Company”