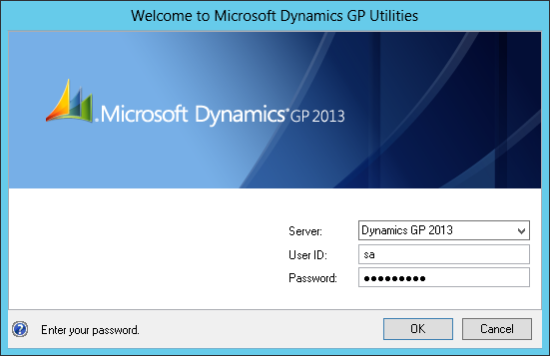
 Now we have a client installed, we can use this to install the server. To do this run GP Utilities and log in using the sa account:
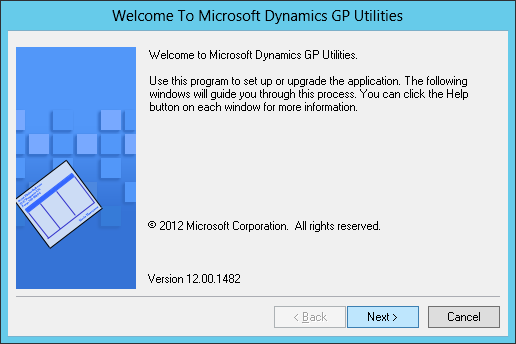
Click next on the welcome screen:
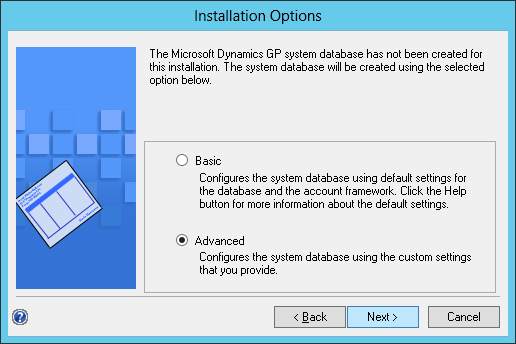
I never take a basic installation of any software and especially with Microsoft Dynamics GP I recommend always taking the Advanced option as you will be bound to the installation forever more:
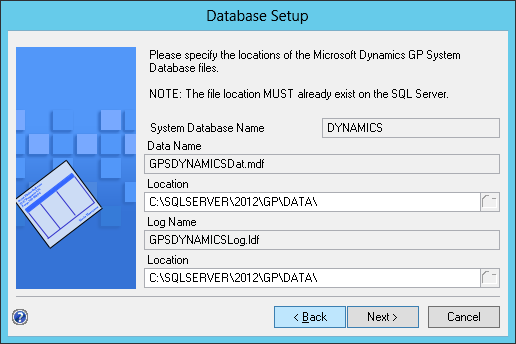
Enter the locations of the Data and Log files. If this was a real serve they should be on separate physical drives, but as this is a test machine I have installed both onto the C:\:
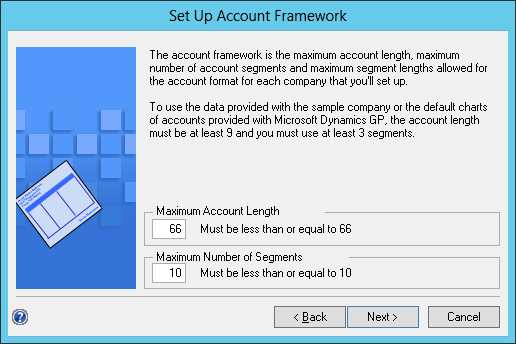
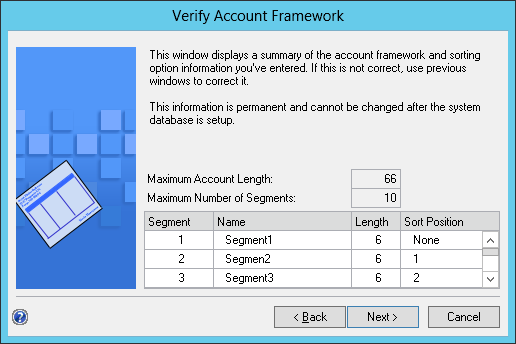
The Account Framework should always be defined with a maximum length of 66 characters and a maximum number of segments of 10 as this gives maximum flexibility in the future:
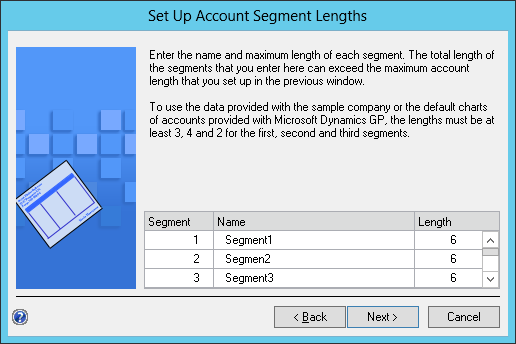
Unless there is a client requirement for different lengths, I set the length of each segment to 6 characters. In this step you can name the segments by overtyping the entry in the Name column. When finished click Next to proceed:
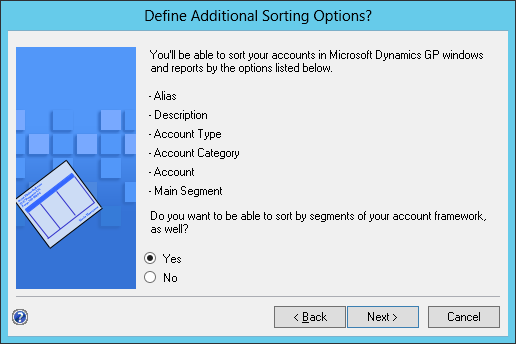
Choose whether or not to be able to sort by segments of the account framework (and to be honest, why wouldn’t you?):
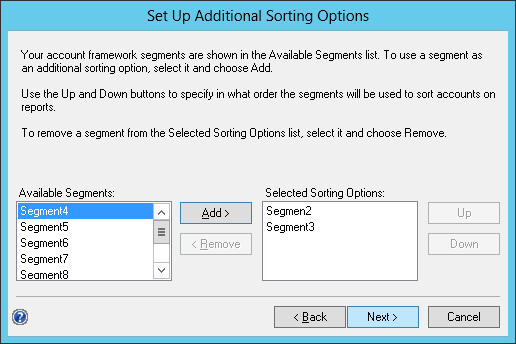
Select the segments, one by one, in the Available Segments list and click Add to move them to the Selected Sorting Options and then, when finished, click Next:
Verify your selections and click Back to make any changes or click Next to proceed:
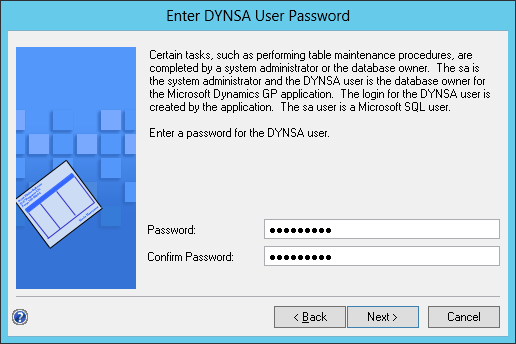
Enter and confirm a password for the DYNSA and click Next:
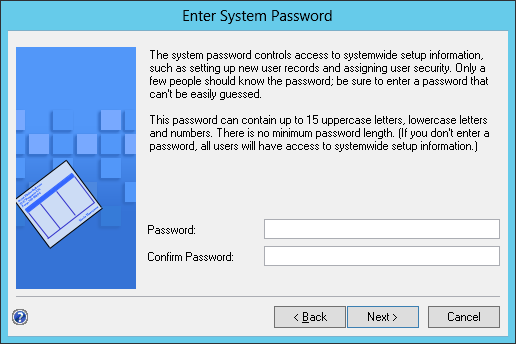
I have mixed feelings about the System Password. Yes, additional security is good, but windows in GP can be restricted using the standard Security Roles and Tasks. And when a System Password has been defined all security related windows prompt for the password when you open them; which means when creating a new user you end up having to enter it mulitple times.
Anyway, in the Enter System Password step enter the System Password if you want one and then click Next:
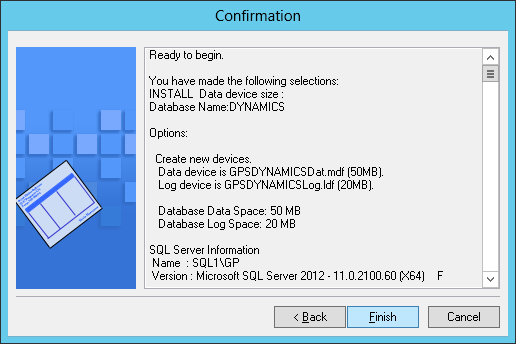
In the Confirmation step, check your selections. If you need to change anything, click Back, other wise click Next:
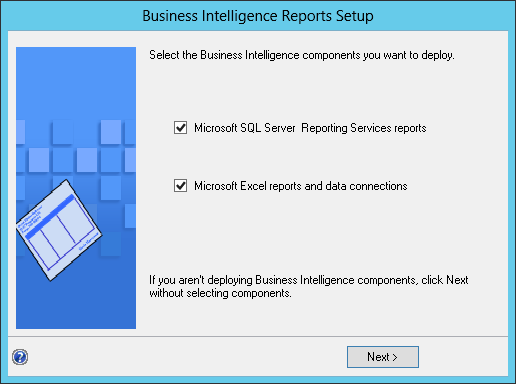
Mark both the Microsoft SLQ Server Reporting Services reports and Microsoft Excel reports and data connections and click Next:
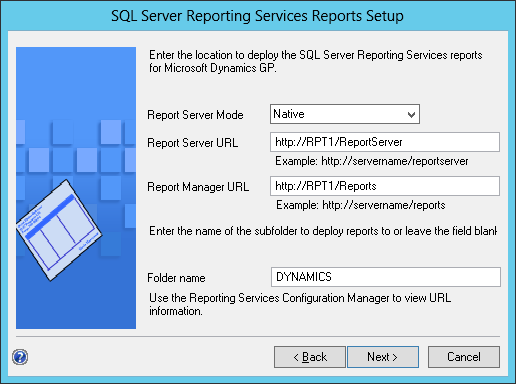
Choose the Report Server Mode, which in my case is Native and define the Report Server URL, Report Manager RL and specify a Folder Name:
I’m missing a screenshot for the Microsoft Excel reports, but in this step you need to define the path for the deployment. I would always recommend using the UNC rather than a mapped drive as users may have different locations mapped to the same drive letter.
It seems I also forgot to take a screenshot of the end of installation process, but it was nothing special. When you see it, click Finish.
With the system data base created, the next step is to create a company. As I am installing a test system, my next step is to deploy the Fabrikam sample company.
Click to show/hide the Microsoft Dynamics GP 2013 SP2 Web Client Scale-Out Deployment Series Index
What should we write about next?
If there is a topic which fits the typical ones of this site, which you would like to see me write about, please use the form, below, to submit your idea.


