 In Microsoft Dynamics GP 2010, Microsoft changed the underlying tables used by the Check Remittance; I believe this was for purposes of efficiency. However, the downside is that the table, pmRemittanceTemp, used to replace PM_Payment_WORK did not contain the vendor’s address or a link to a table which did.
In the past I have tended to use VBA to add the vendor’s address to the Check Remittance because it was quick and easy to do and I didn’t revisit this approach until Microsoft Dynamics GP 2013 was released. And the reason I revisited, was because of the new Web Client which does not support VBA customisations.
As always, I figured I might as well do a blog post about this and had it scheduled in to write when Richard Wheeler asked the question on the Community Forum. So, here is the step-by-step guide to adding the vendor address back onto the Check Remittance modified report.
Open Report Writer and click the Tables drop-down button and then click Tables;
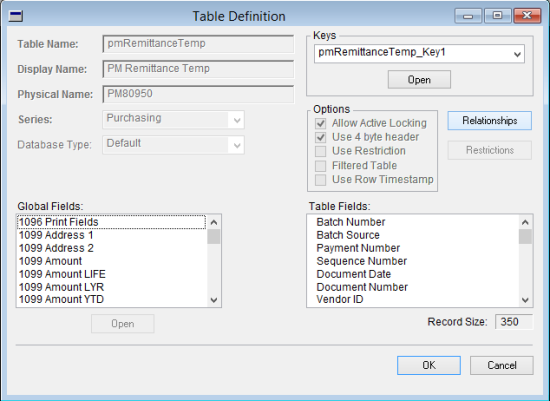
Scroll down the list and select pmRemittanceTemp to open the Table Definition window;
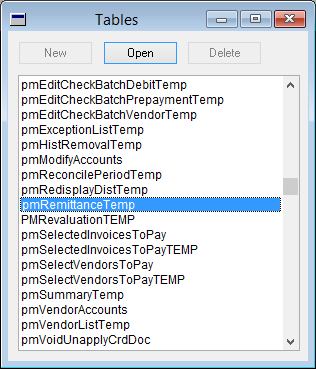
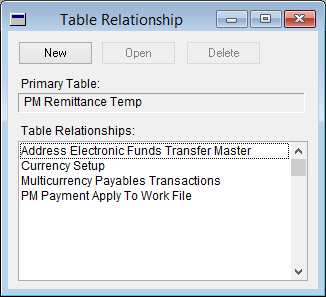
Click the Relationships button to open the Table Relationship window;
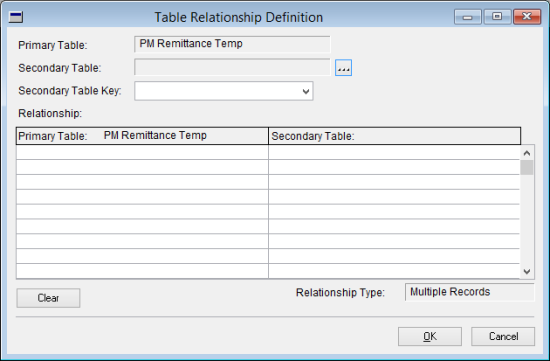
Click the New button to create a new relationship for the pmRemittanceTemp table in the Table Relationship Definition;
Click the ellipsis button (…) to open the Relationship Table Lookup;
Scroll down and find the PM Payment WORK table and click OK;
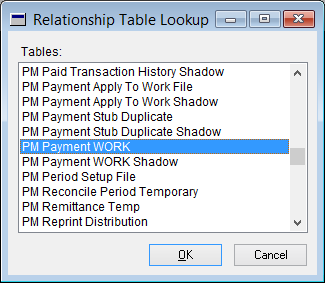
This is the table which Microsoft Dynamics GP 10 and prior used as the main table in the Check Remittance and contains the vendor remittance address as of when the payment was created.
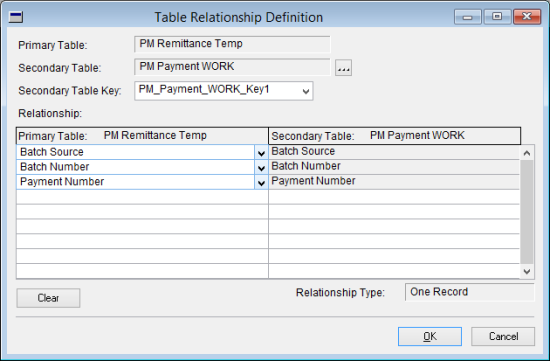
As the Secondary Table Key, choose PM_Payment_WORK_Key1 and set the three part key as shown below and then click OK;
In the Table Relationship windowyou will see that PM Paument WORK now displays in the list;
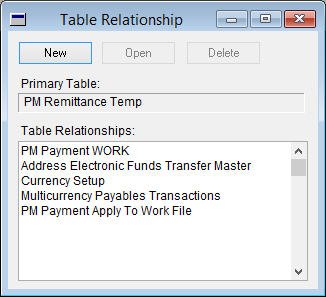
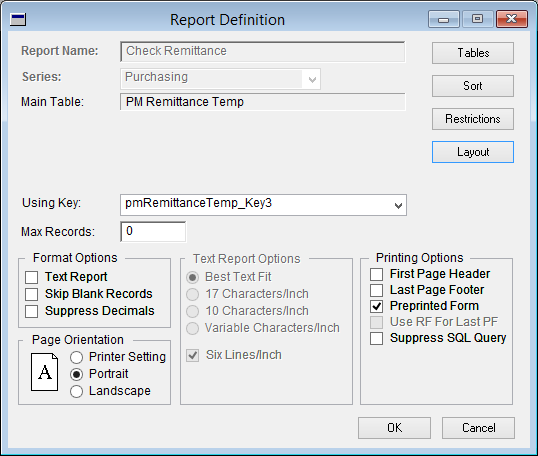
Close the Table Relationship window and open the Check Remittance modified report and click the Tables button in the top right corner to open the Report Table Relationships window;
Click New to open the Related Tables window and see a list of the available tables which have not already been added to the report;
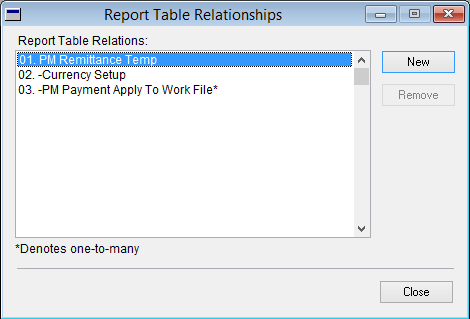
Select PM Payment WORK and click OK;
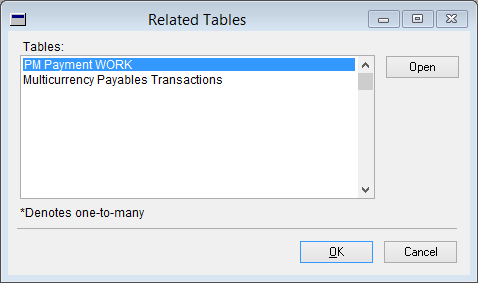
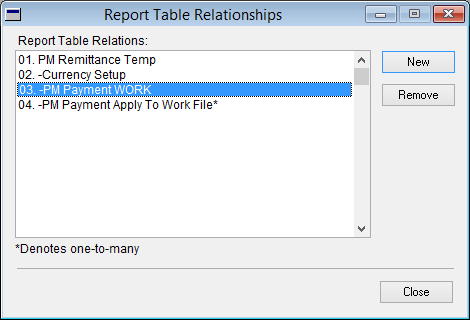
PM Payment WORK will now show in the Report Table Relationships window so click Close and OK and then close the Tables window;
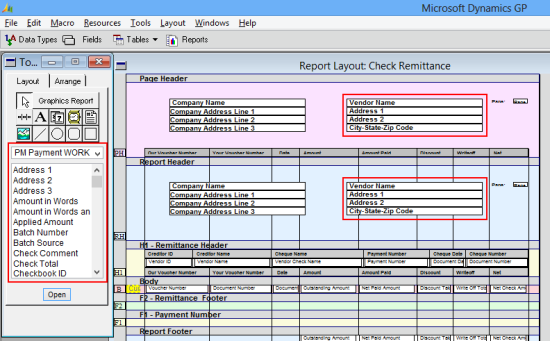
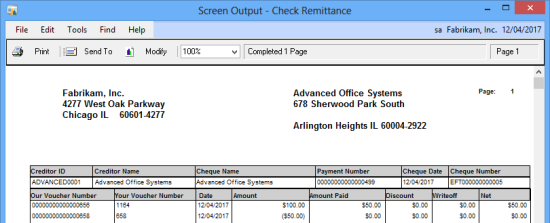
Open the Check Remittance modified report and, in the Report Layout: Check Remittance window the PM Payment WORK table is available in the Toolbox with the address fields available for selection and placement on the report. In this example I have added it the Vendor Name, Address 1, Address 2 and City-State-Zip Code to the Page Header and Report Header;
I printed a test check remittance on the Fabrikam sample company to confirm the information was printing correctly;
Any Word Template check remittance created after this change has been made will also have the PM Payment Work fields available for use once they have been added to the modified report.
What should we write about next?
If there is a topic which fits the typical ones of this site, which you would like to see me write about, please use the form, below, to submit your idea.




1 thought on “Adding the Vendor’s Address To The Check Remittance”