 In the last couple of posts I have taken a look at installing the SharePoint prerequisites and SharePoint itself and in this one I’ll be taking a look at configuring the new SharePoint installation.
I do need to give the warning I gave in the last post; I am not a SharePoint consultant, so please do not follow these posts to install SharePoint as a live system. I was installing it just to see if I could install it, if it would work and, ultimately, so I could install Business Portal for a demo.
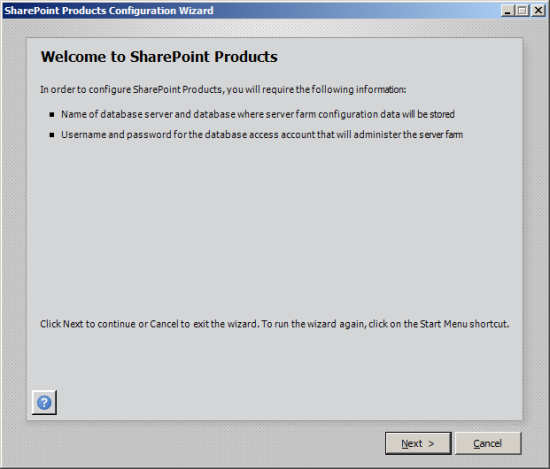
This post picks up where the previous ended with the Configuration Wizard being launched. To proceed, click through the Configuration Wizard, click Next:
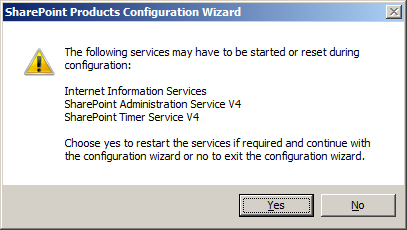
You’ll be warned that a few services may need to be restarted (IIS among them). If this won’t present a problem, click Yes to proceed:
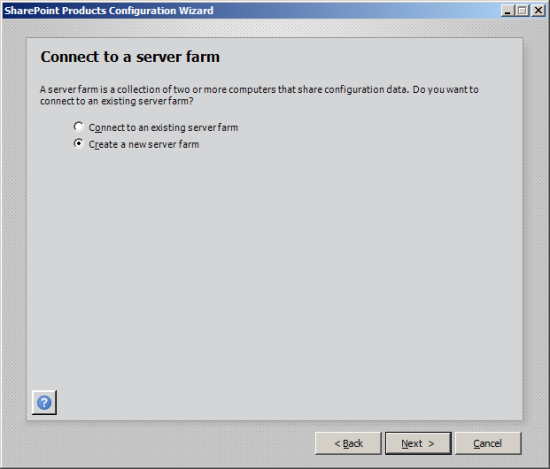
In this series of posts I am installing a new SharePoint instance so selected Create a new server farm:
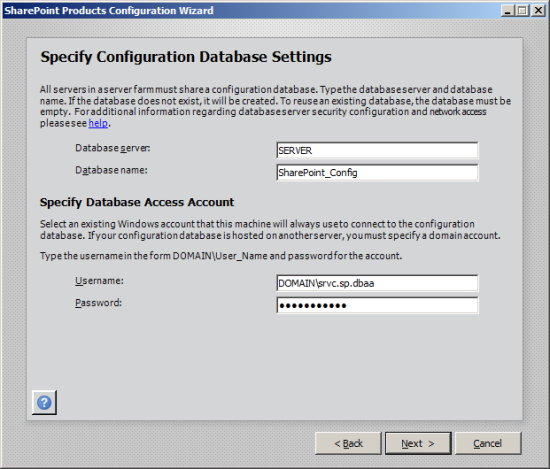
The settings for the Configuration Database need to be specified. Enter the database server (and instance if not using the default) and database name (or accept the default of SharePoint_Config). You also need to specify the database access account; as a matter of principle I would always recommend a Domain user account be used:
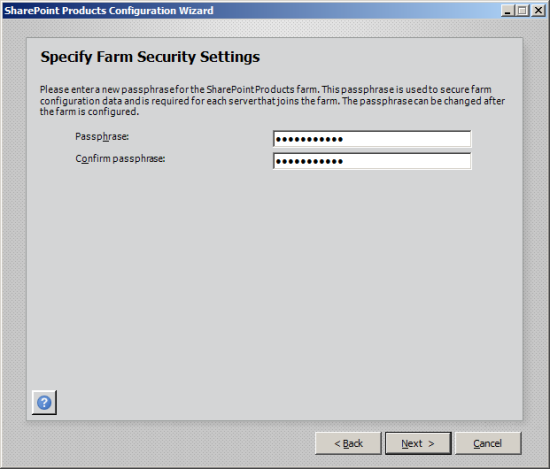
Enter and confirm the passphrase which will be used to secure the SharePoint farm:
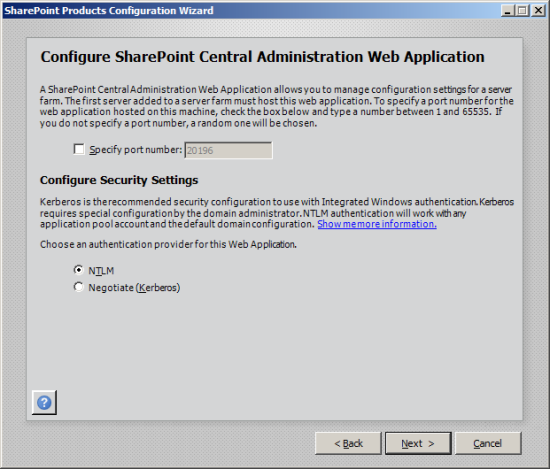
The SharePoint Central Administration Web Application needs to be configured by specifying a port number (or accept the default) and selecting the authentication provider (I’ve chosen to use the default NTLM provider):
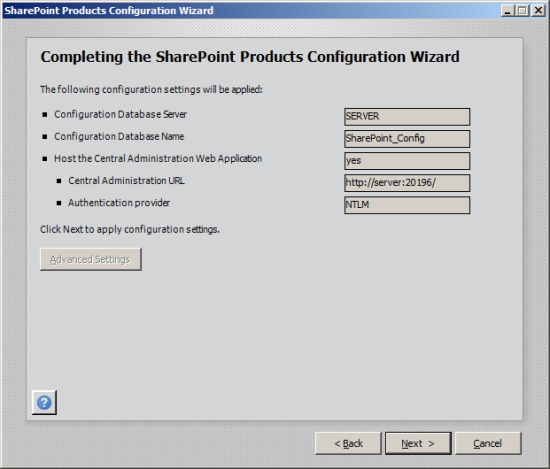
Confirm the entered settings are correct and click Next to proceed:
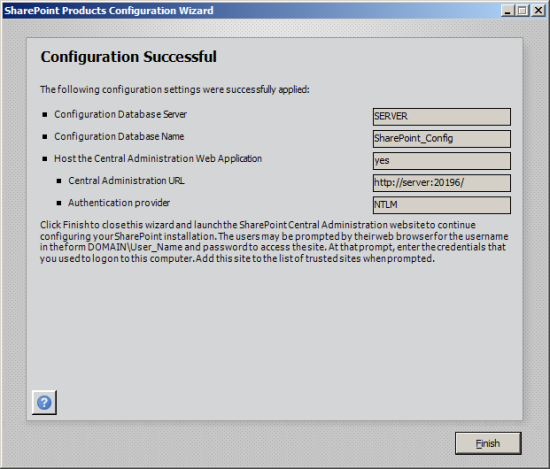
Once the settings have been applied this will be confirmed:
The final step of the configuration is to close the wizard and launch the SharePoint Central Administration website which I’ll cover in the next post.


