 I’ve been working my way through a number of different products which ship alongside Microsoft Dynamics GP 2013, such as Business Analyzer and Integration Manager, and thought I’d also cover one of the additional products which is brand new: the Web Client.
In this series of posts, I’m going to take a look at a Single Machine deployment (I will look at a Multi-Machine deployment another time). The first step in the deployment of the Web Client is to install the Web Client Runtime on a machine which already has Microsoft Dynamics GP 2013 desktop client installed.
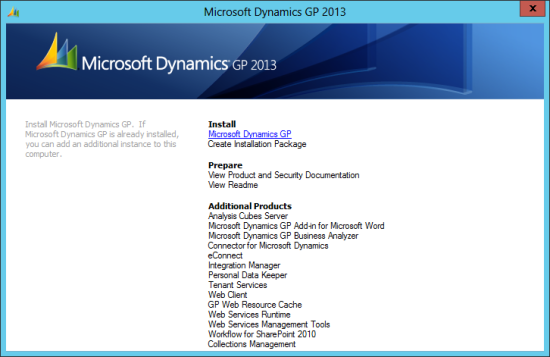
This can be done either via Programs and Features in the Control Panel or, as I am doing in this example, via the Microsoft Dynamics GP 2013 setup utility. In the setup utility, select Microsoft Dynamics GP;
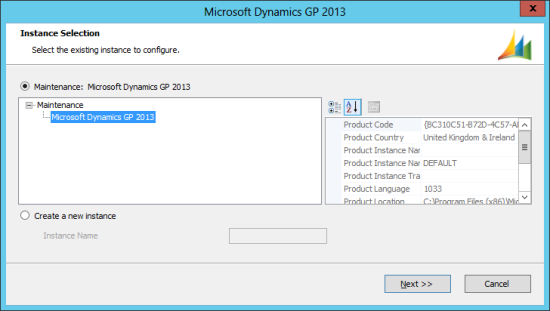
As I am revisiting a client which already has Microsoft Dynamics GP 2013 installed, I need to select the instance to be updated;
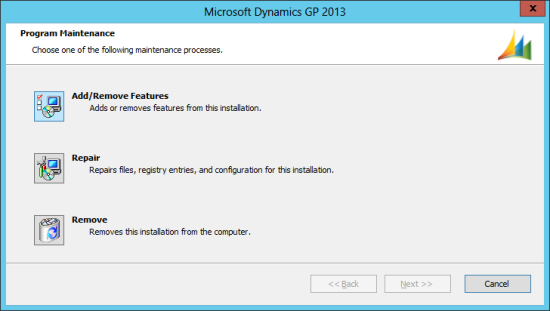
As we want to add a new feature, select Add/Remove Features;
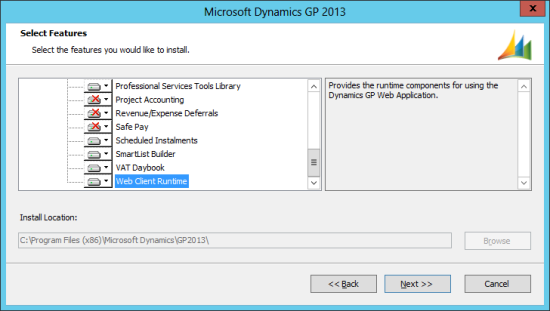
Scroll down the list of available features and select Web Client Runtime;
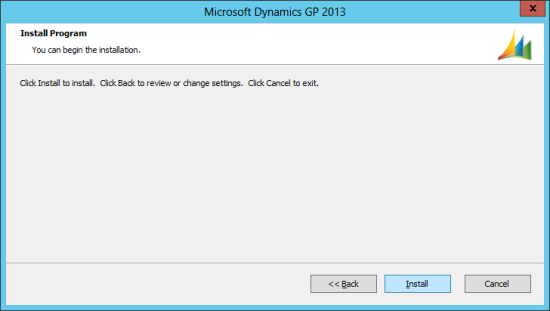
Confirm the feature should be installed by clicking Install;
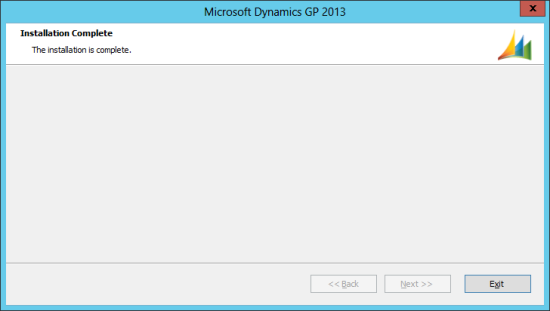
Once installation has completed, this will be confirmed;
In the next post, I’ll the IIS role onto the server which is required for hosting the Web Client website.
What should we write about next?
If there is a topic which fits the typical ones of this site, which you would like to see me write about, please use the form, below, to submit your idea.




6 thoughts on “How To Install Microsoft Dynamics GP 2013 Web Client: Installing the Web Client Runtime”