 In this series of posts, I’m taking a look at the steps needed to install the Microsoft Dynamics GP 2013 Web Client. In the previous posts I took a look at installing the Web Client Runtime, adding the IIS Role and a self-signed certificate created. With those steps completed, we can now install the Web Client itself.
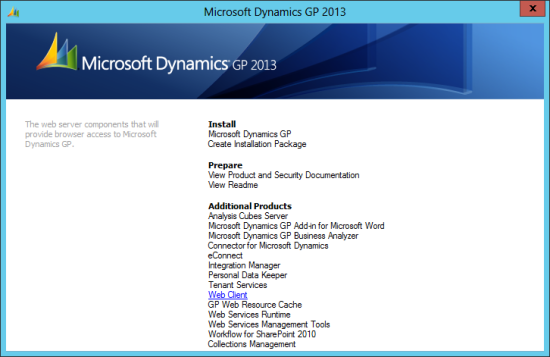
This is done from the Microsoft Dynamics GP 2013 setup utility by selecting Web Client under the Additional Products section;
As I said in the introduction to the first post, this series is taking a look at a Single Machine Web Client deployment;
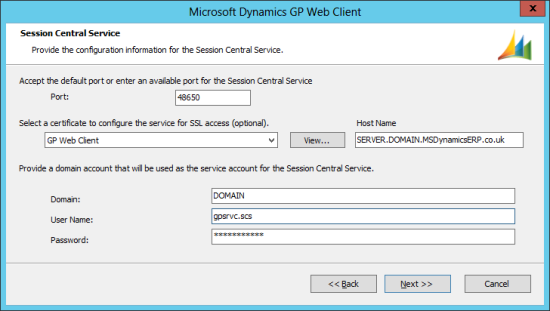
Define the configuration of the Session Central Service by either accepting the default port of 48650, or choosing a different one, setting the certificate to be used for SSL access and entering the domain account information which will be used to run the Session Central Service;
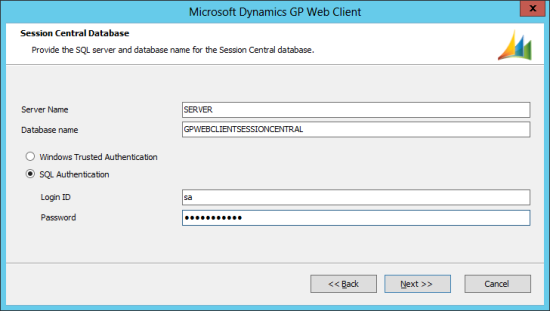
Enter the Server Name and Database Name, where the Session Central Service will store it’s information, and choose an authentication method. If choosing SQL Authentication enter the Login ID and Password for a user which has permissions to create a new database;
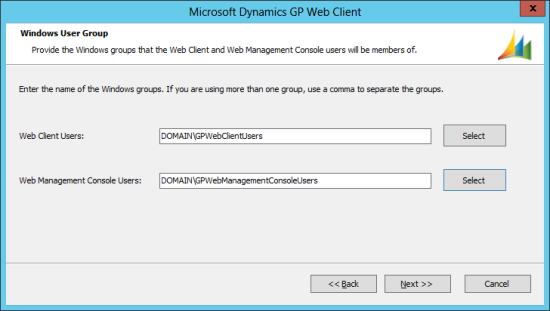
There are two Windows groups which need to be created, and users assigned, before the Web Client can be installed. The first is for the Web Client users and the second for the users who will access the Web Management Console;
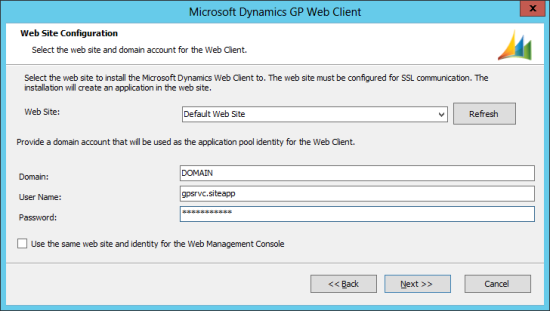
Next choose the website the Web Client is to be installed to and enter the domain account which will be used for the application pool for the Web Client;
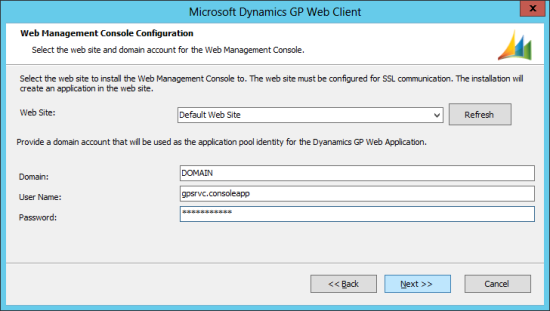
Mark the checkbox if you want to use the same web site and identity for the Web Management Console. If you do not mark this box the next page allows you to choose the Web Site and enter the domain account for the application pool;
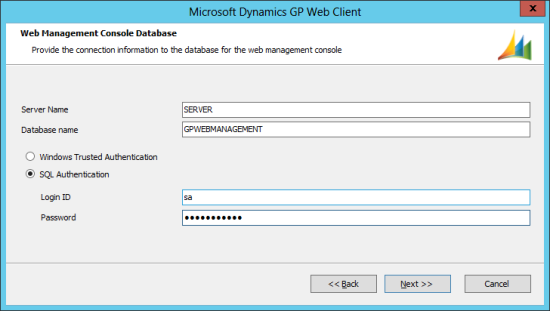
Enter the Server and Database names and choose the authentication method for where the Web Management Console will store it’s information;
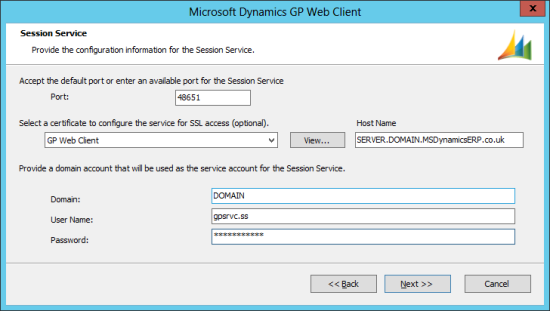
Provide the configuration information for the Session Service by selecting the Port, the default port is 48651, and choose the certificate for SSL access and provide the domain account which the Session Service will run under;
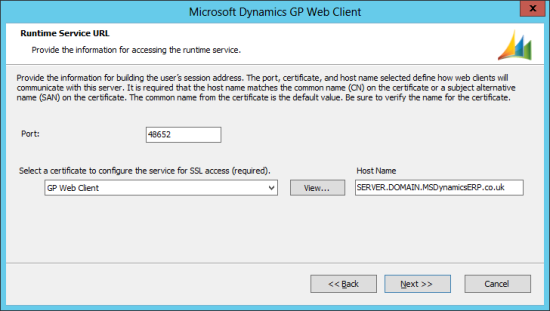
Define the port number for the Runtime Service URL and choose the certificate for SSL access;
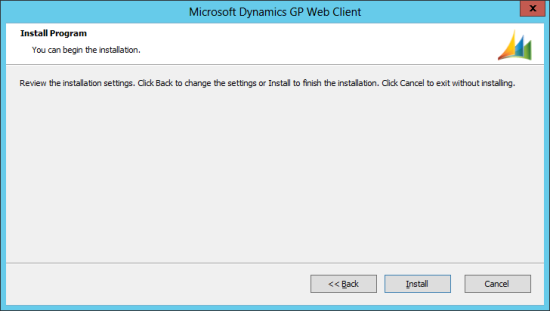
Click Install to confirm the installation should be performed;
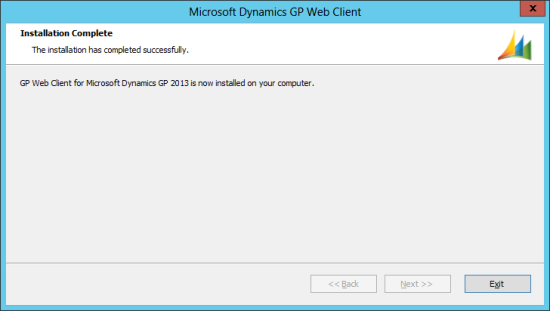
Once installation has been completed, this will be confirmed in the final stage of the setup utility.
Next, we’ll take a look at running the Configuration Utility.
What should we write about next?
If there is a topic which fits the typical ones of this site, which you would like to see me write about, please use the form, below, to submit your idea.





1 thought on “How To Install Microsoft Dynamics GP 2013 Web Client: Installing the Web Client”