 Earlier in this series of posts, I took a look at installing the Web Client Runtime and adding the IIS server role. In this post I’ll take a look at installing a self-signed certificate (self-signed is really only a valid option for a demo or test system; on a live system you should really use a real certificate.
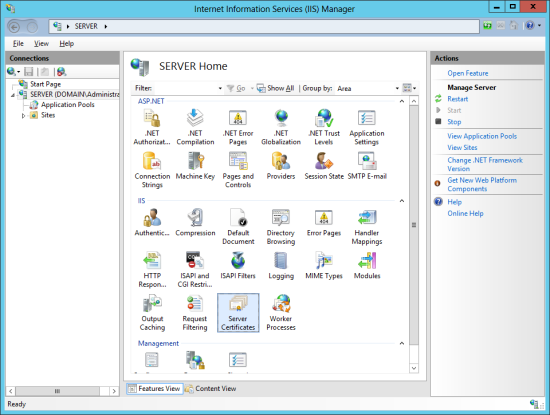
To create a self-signed one, open Internet Information Services (IIS) Manager and click on Server Certificates;
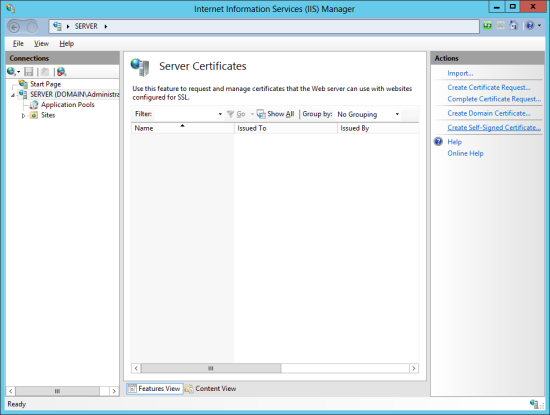
In the Server Certificates, on the Actions pane, click Create Self-Signed Certificate;
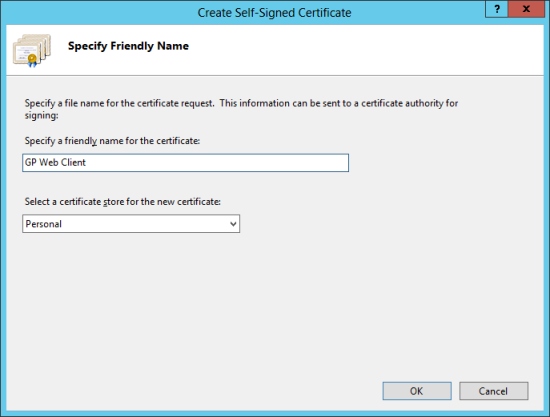
Enter a friendly name for the certificate;
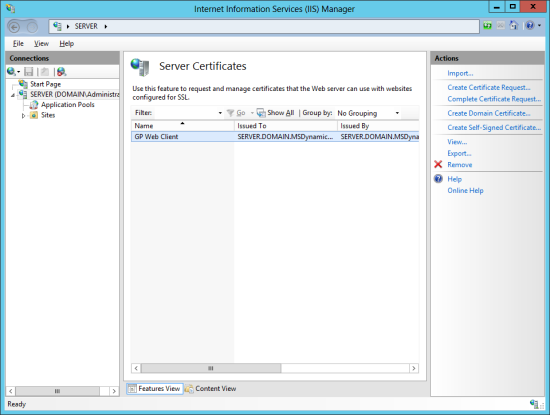
Once create, the self-signed certificate will display on the Sever Certificates list;
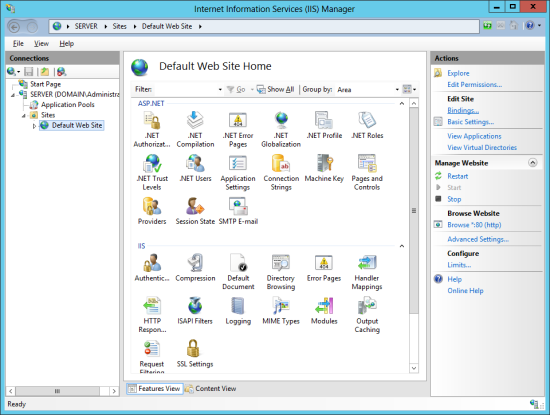
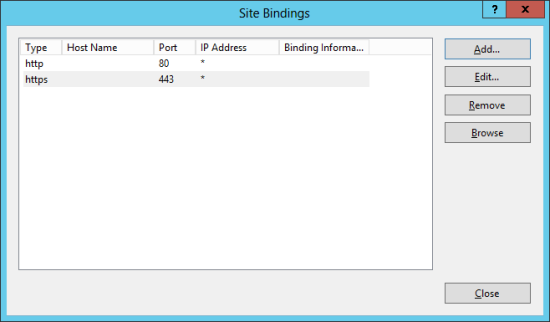
Now that the certificate has been created, it needs to be abound to the website which will be used for the Web Client. To do this expand the website under Sites and, on the right-hand Actions pane, click Bindings and the click Add to add a new binding;
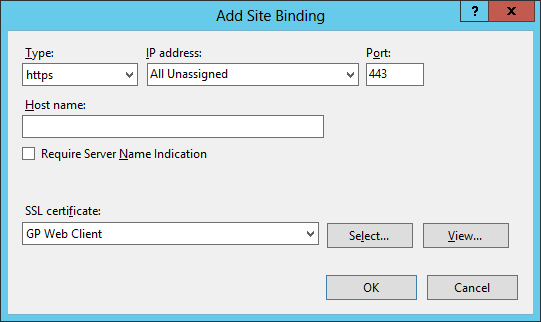
Set the Type to https, change the IP address or leave at All Unassigned if you want this site to pick up all connection requests, set the Port to 443 which is the standard SSL port (or change if you want to operate on a different port).
Finally, in the SSL certificate field select the self-signed certificate created earlier, which in my case was GP Web Client;
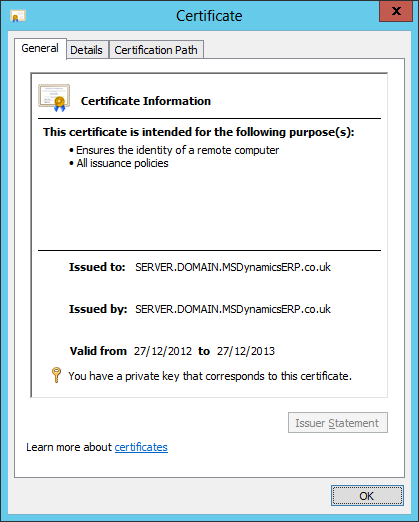
Clicking View will display the details of the certificate, including the valid from and to dates;
Click OK on the Add Site Bindings window and then again to return to the Site Bindings window which will show all bindings;
Clicking Close will return you to the IIS Manager main window. With the self-signed certificate created and bound to the website, we can now progress to installing the Web Client.


