 In this series of posts, I’m taking a look at installing the Microsoft Dynamics GP 2013 Web Client as a single machine deployment. To be able to install the Web Client, we need to have ISS installed. The server I am installing this on is a Windows Server 2012 so this is done via the Server Manager.
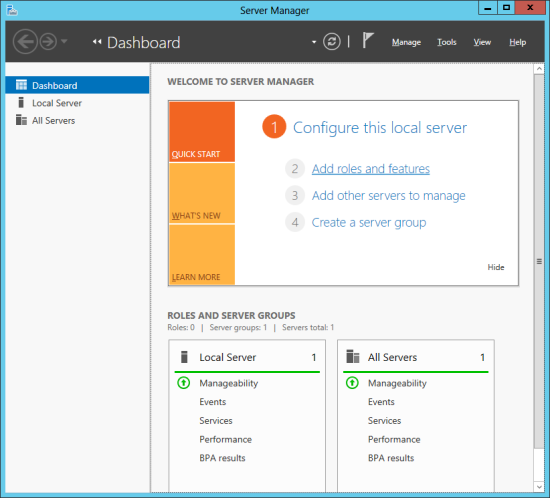
To add the ISS Role, click on Add Roles and Features;
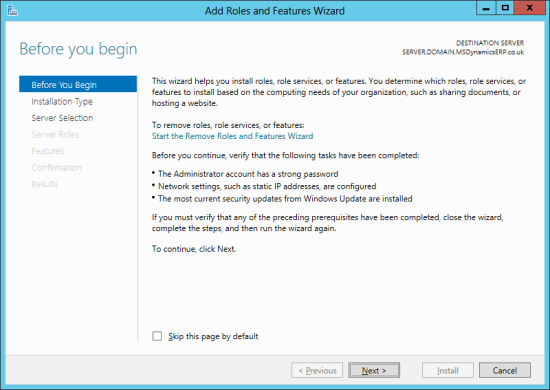
The Before you begin page has a few items you need to check before continuing with adding the new role;
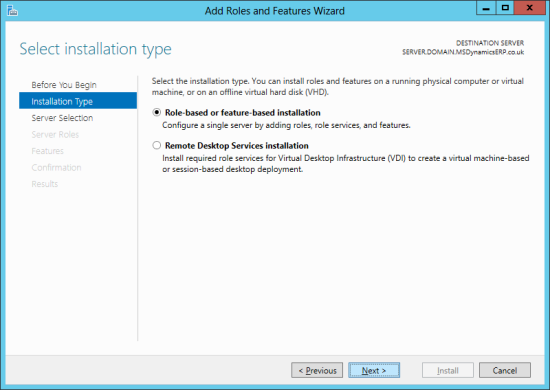
Select Role-based or feature-based installation;
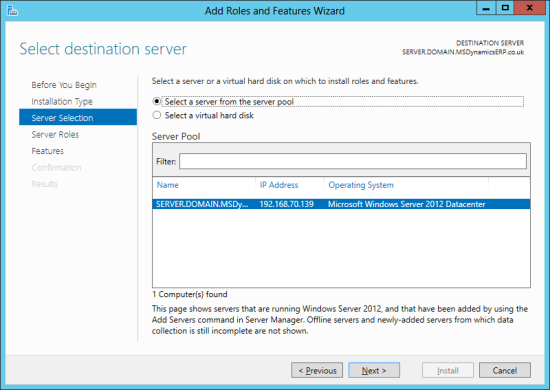
On a live system you’re likely to have multiple machine savailable so ensure the radio button Select a server from the server pool option and choose the server from the list;
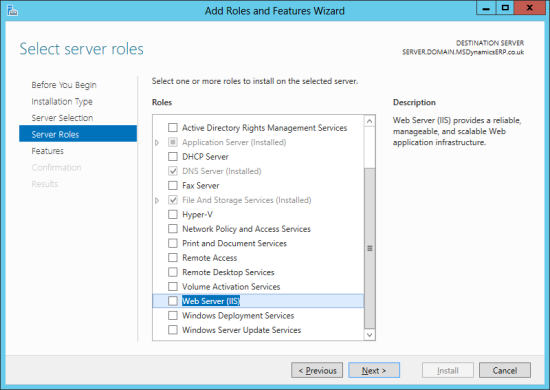
Select the server role Web Server (IIS);
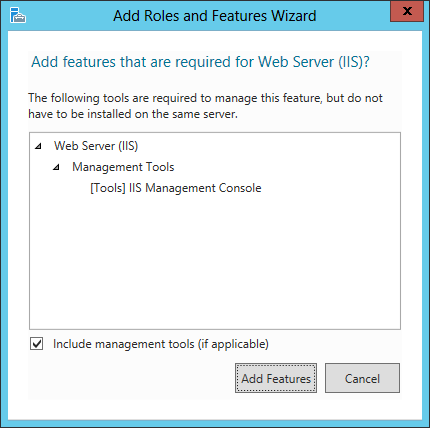
There are some tools which need to be installed alongside Web Server (IIS) and which you will need to confirm by clicking Add Features;
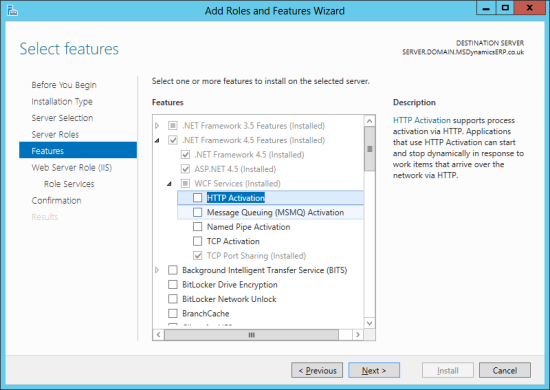
Once you click Next, you will need to select the HTTP Activation feature;
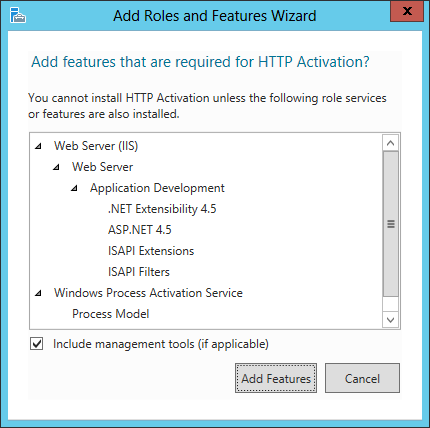
There is an additional role and some features which are needed to support the HTTP Activation feature so to proceed you will need to click Add Features ;
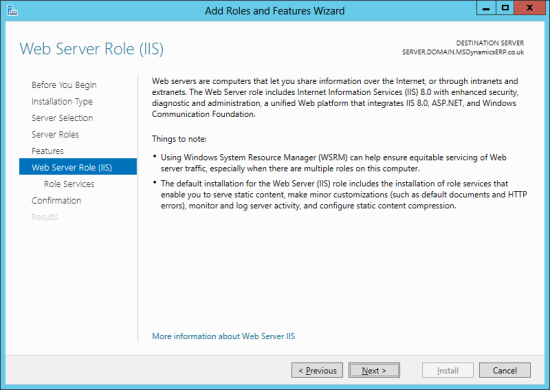
Click Next to see the Web Server (IIS) role details;
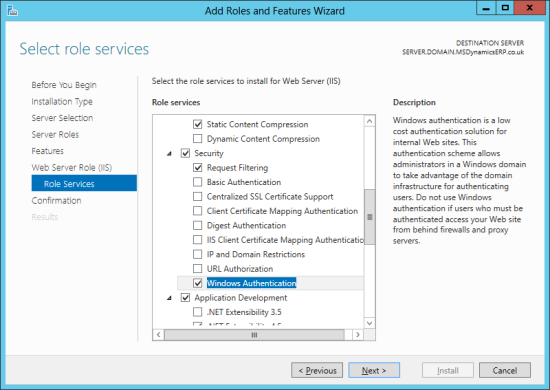
Under Role Services expand Security and mark Windows Authentication;
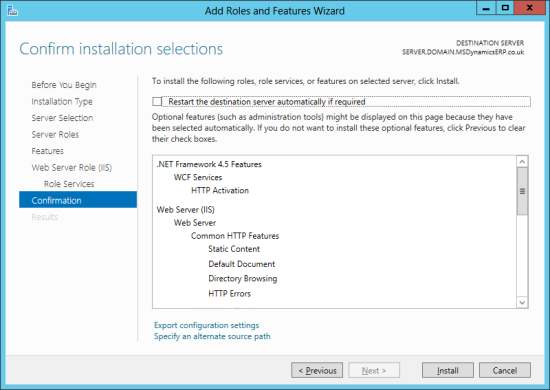
Confirm the installation of the selected role and features and mark Restart the destination server automatically if required if you’re happy for the server to reboot at the end of the installation if required;
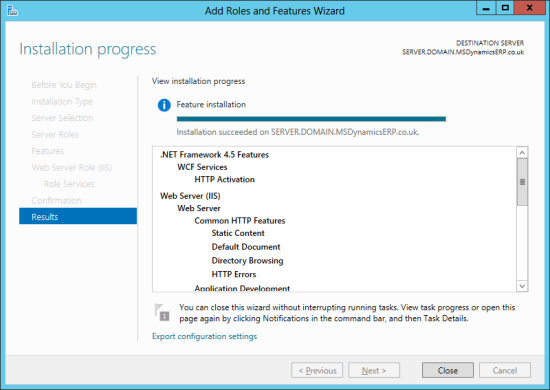
Once the installation has completed the success (or failure) will be reported by Server Manager;
As I am working to create a demo machine, the next step is to create a self-signed security certificate.
What should we write about next?
If there is a topic which fits the typical ones of this site, which you would like to see me write about, please use the form, below, to submit your idea.




2 thoughts on “How To Install Microsoft Dynamics GP 2013 Web Client: Adding The IIS Role”