 The Microsoft Dynamics GP sample company, which I showed how to install in the last post, is good for doing a demo or for testing, but in the real world most sites will never deploy the sample company. Instead their efforts will be focused on creating a company to host their own data, which is what we’re going to take a look at in this post.
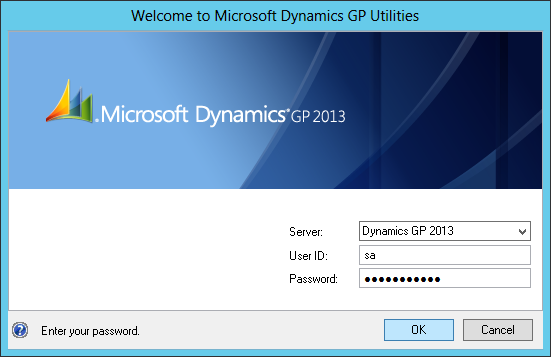
New companies are created using GP Utilities () and login using the sa password;
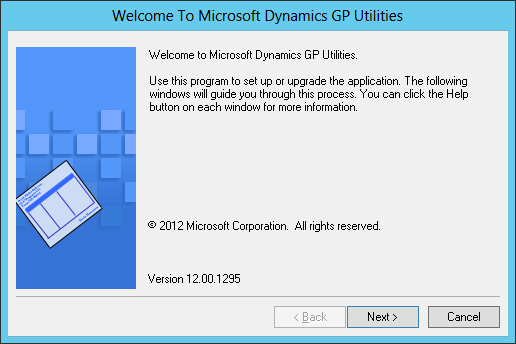
Click next on the Welcome to Microsoft Dynamics GP Utilities step;
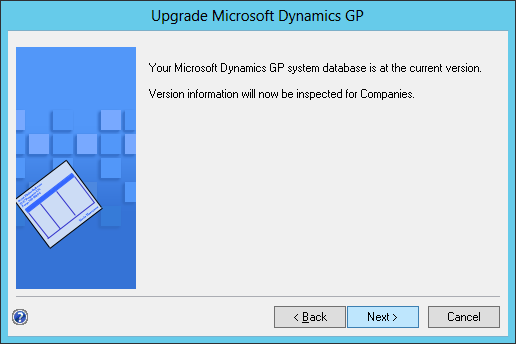
GP Utilities will check that the system database is at the correct version and require the version information to be inspected for companies;
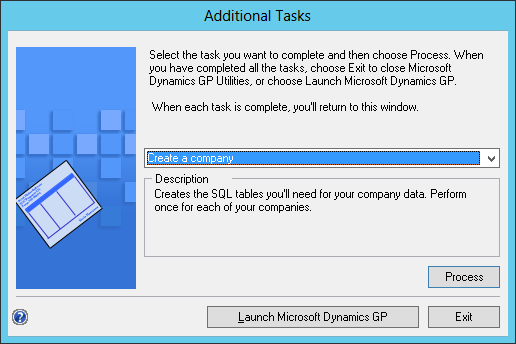
If everything checks out the next step will be the Additional Tasks one. Set the drop down combo to Add sample company data and click Process;
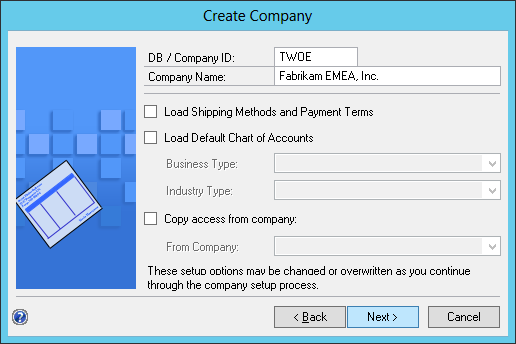
Enter the DB/Company ID which is restricted to five characters. This is both the database name in SQL Server and also the intercompany ID in Dynamics GP. In this example I am creating a company for Fabrikam EMEA, Inc. so I have entered TWOE as the Comapny ID and entered the Company Name.
If you want to load Shipping Methods and Payment Terms mark the checkbox and this will load some default entries.
Mark the box to load a default Chart of Accounts and pick the Business Type and Industry Type and you will get a sample Chart of Accounts, similar to that in the sample company. I’d recommend not using the default chart of Accounts and instead create your own tailored to the needs of your business.
The final option on this window is whether to copy access from another company. You can’t copy access from the Fabrikam sample company, but you can copy it from any other company. It will grant access to all users who can access the other company and give them the same Security Roles as they have in the original company;
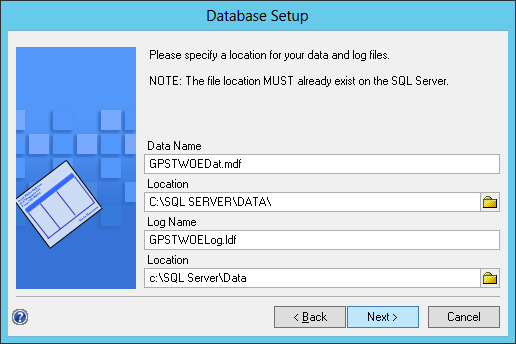
In the Database Setup step, the data and log files names and locations can be set. The Locations default to the SQL Server instance root folder rather than the defined default location for the data and log files so I always make sure they get changed to the correct location.
On a live server these would typically be different physical drives but this example is being created in a virtual machine which only has one drive created and so are both pointing at the same folder on the C drive;
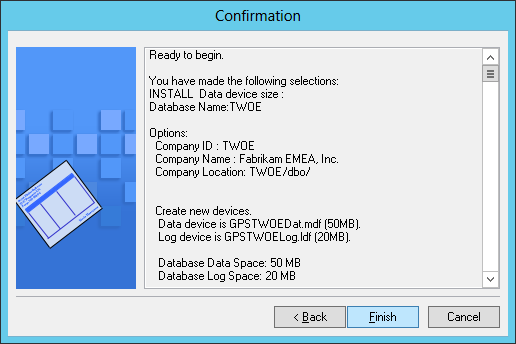
Confirm the selection you made on the previous windows and click Finish;
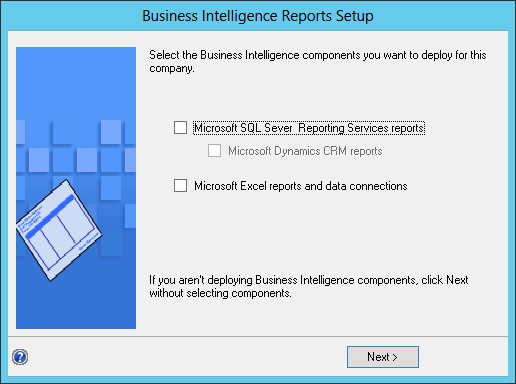
Once the new company database has been created and populated with the required ojbects (tables, stored procedures and so on) the Business Intelligence Reports setup step will be displayed where you can choose to deploy the Microsoft SQL Server Reporting Services reports and Microsoft Excel reports and data connections.
I don’t yet need them in the VM so I have not selected to deploy them;
On Company Setup Options, choose whether to set up the company later or use one of the RapidStart options. I have chosen to take the former option and set up the company later;
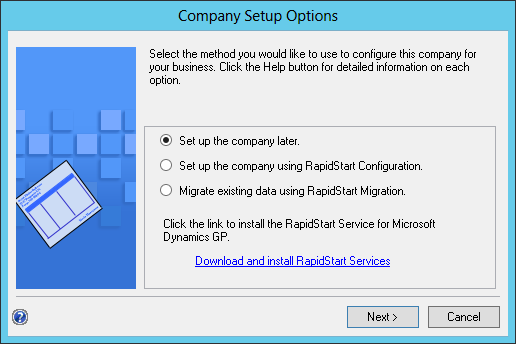
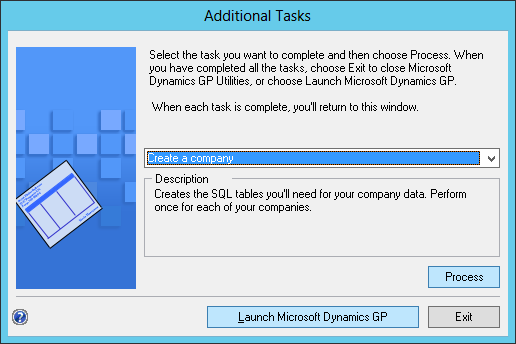
After this selection you will be taken back to the Additional Steps window where you can choose to create another new company or launch Microsoft Dynamics GP;
What should we write about next?
If there is a topic which fits the typical ones of this site, which you would like to see me write about, please use the form, below, to submit your idea.


1 thought on “How To Install Microsoft Dynamics GP 2013 – How To Create A Company”