 The first post in this series was a brief introduction which outlined the components within a web client deployment and the second covered the deployment options which are available. In this post I’m going to take a look at the process for installing the web client runtime.
Microsoft recommend that Microsoft Dynamics GP be installed, configured and confirmed as operating correctly before any of the components for the Microsoft Dynamics GP web client are installed.
Even if you’re using the web client you will still need at least one accessible desktop client as even though most of the administrative tasks of Microsoft Dynamics GP can be performed with the web client, some, such as creating companies, cannot.
Each of the servers which is being used as a session host must have a Microsoft Dynamics GP desktop client installation which can be connected to the Microsoft Dynamics GP databases.
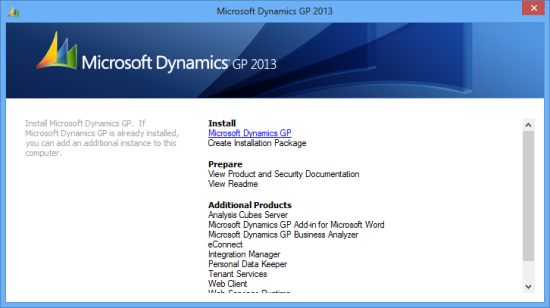
To add the Microsoft Dynamics GP web client to a machine which is to be a session host, open the Program and Features control panel applet and after selecting Microsoft Dynamics GP, click Change or run the Microsoft Dynamics GP 2013 setup utility from the installation media and click Install Microsoft Dynamics GP;
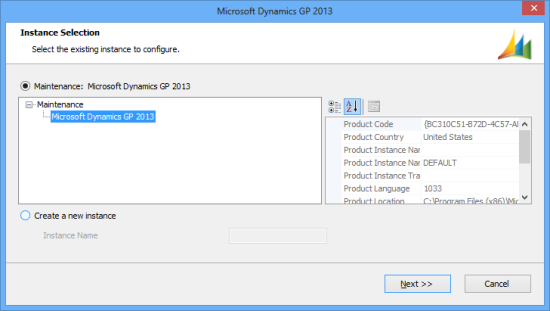
Choose to perform maintenance on the existing installation;
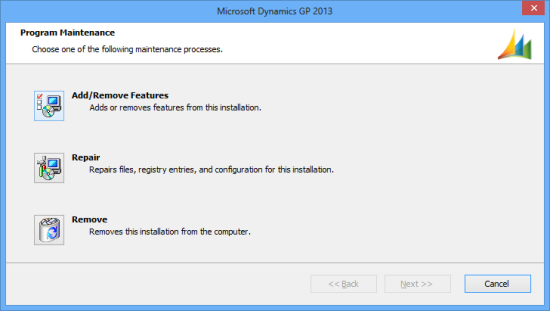
And the choose to Add/Remove Features;
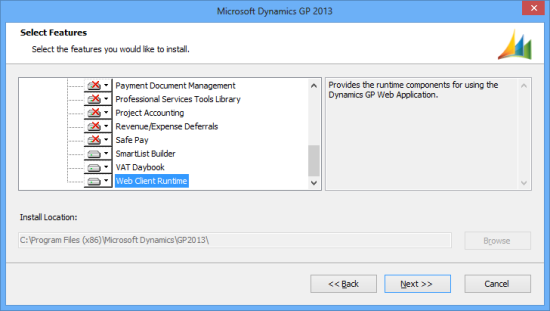
Scroll down to the bottom of the list of features and change to add Web Client Runtime;
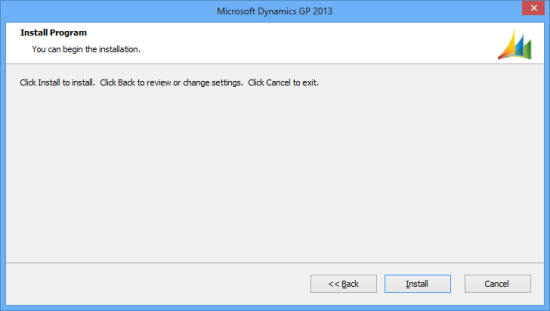
Confirm the installation of the additional feature;
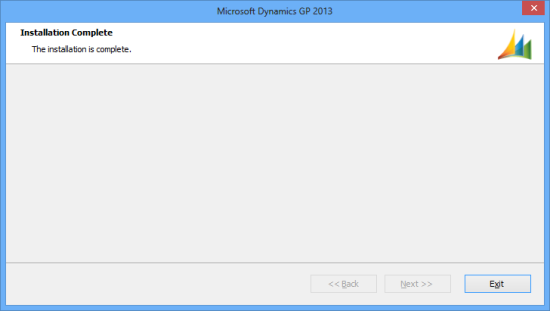
Once the installation is complete, a confirmation message will be displayed;
Check to make sure the GP desktop client still works correctly and then you’ll be ready for the next step.
Next up, I’ll take a look at the required Security Groups and Service Accounts.




4 thoughts on “How To Install The Microsoft Dynamics GP 2013 (Beta) Web Client – Installing The Web Client Runtime”