 Now that IIS is installed, we need to create a security certificate for use with the Microsoft Dynamics GP 2013 web client.
In a production environment I would use a proper signed certificate but for testing purposes, I’m going to go with a self signed certificate.
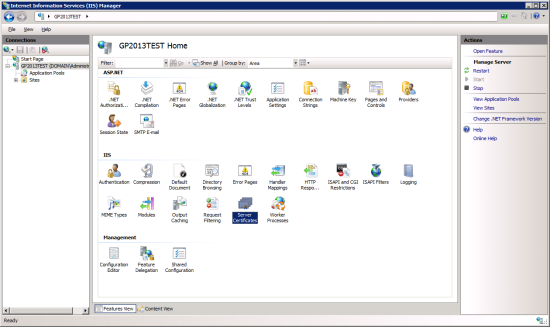
To create a self-signed certificate, open Internet Information Services (IIS) Manager, select the machine running the web site (in my case the machine is called GP2013TEST) and then double click on Server Certificates;
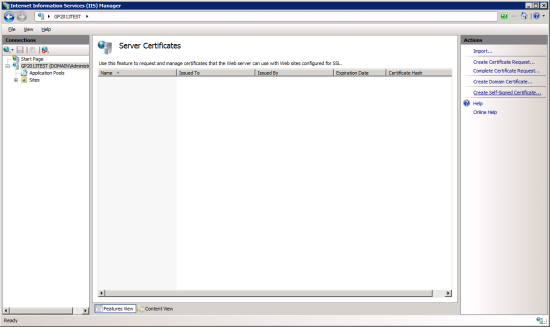
On the right hand panel, click Create Self-Signed Certificate;
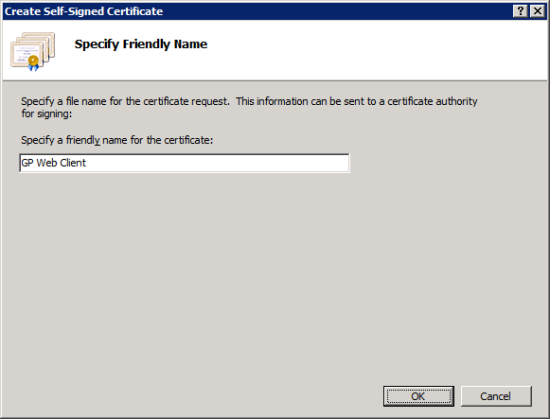
Enter a friendly name for the certificate;
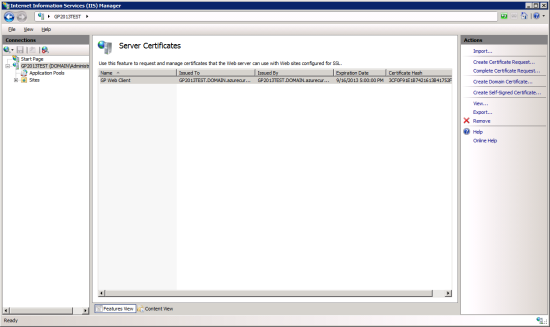
When created the view in IIS will be updated to show the certificate and the machine name the certificate was created for (this will be the fully qualified domain name);
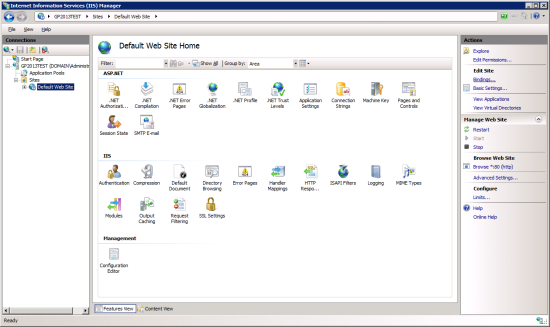
To apply the certificate, navigate to the Default Web Site in the left hand panel and then click Bindings in the right hand panel;
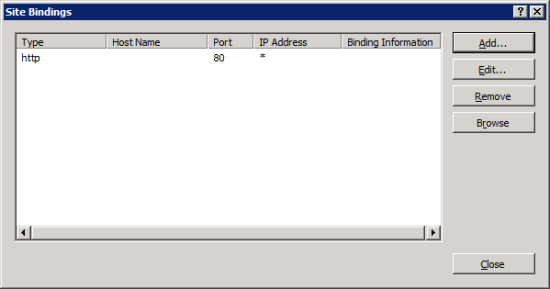
This shows all the IP and port bindings on the selected web site. To add a new binding, click Add;
Set the Type to https which will default the port to 443, which you can change should you want to use a different port, and select the SSL certificate created earlier;
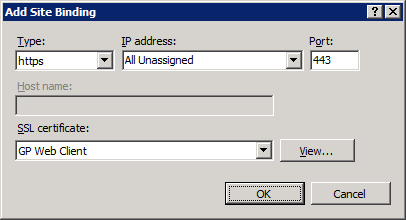
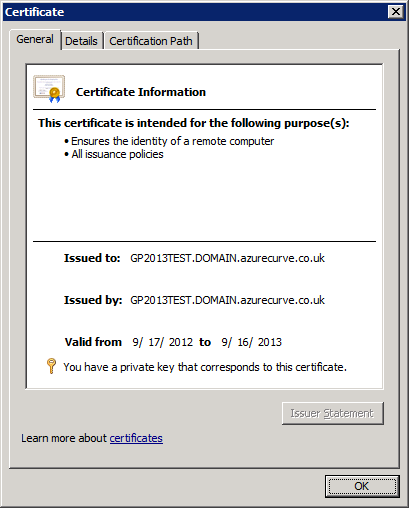
Click View to open the certificate or OK to continue;
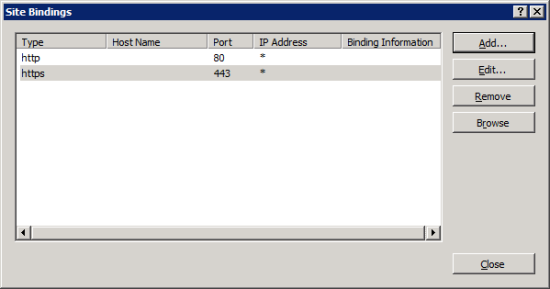
Once done the binding will show in the Site Bindings window;
With the self-signed certificate installed and bound to the web site, I’m now ready to proceed to installing the web client itself, which I will do in the next post.




5 thoughts on “How To Install The Microsoft Dynamics GP 2013 (Beta) Web Client – Installing a Self-Signed Certificate In IIS”