 In this post I’m ging to give a run through of the installation process of the web client itself.
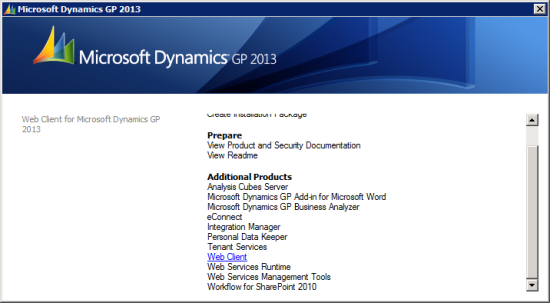
To install the web client run the Microsoft Dynamics GP 2013 setup utility and select Web Client from the list;
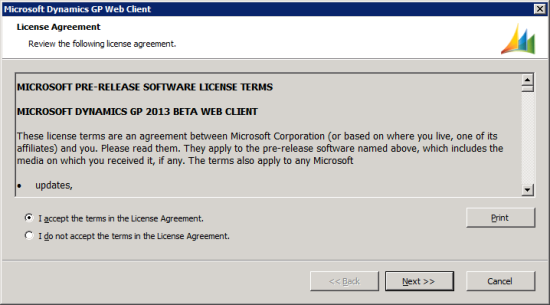
To proceed with the installation accept the License Agreement;
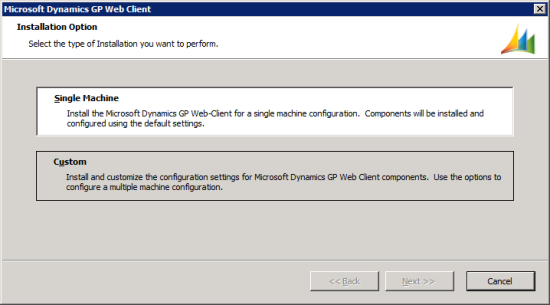
I’m going for the Single Machine option as I’m installing a demo environment for testing purposes. If installing a scale-out deployment you’d need to select Custom;
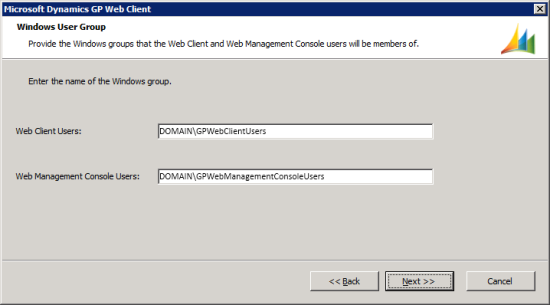
Enter the Windows Security Groups being used to control access to the Web Client and Web Management Console. The NETBIOS of the domain the groups belong to must be specified in these fields. My machine is in the DOMAIN.azurecurve.co.uk so my NETBIOS is DOMAIN;
This screen is regarded as work in progress at Microsoft and they will, according to a discussion with a Senior Escalation Engineer at Microsoft, be making this window clearer in the requirement for specifying the NETBIOS.
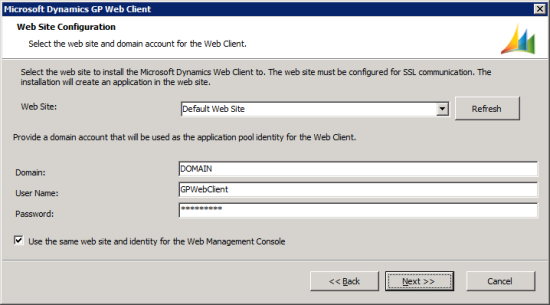
Next select the web site to be used for hosting the web client and specify the DOMAIN, username and password of the account which should be used for running the application pool.
To simplify the install, I’ve checked the box to use the same web site for the Web Management Console;
Specify the SQL Server and database name that should be used for holding the Web Management Console information and select the authentication mode. The user used should have permissions to create SQL databases;
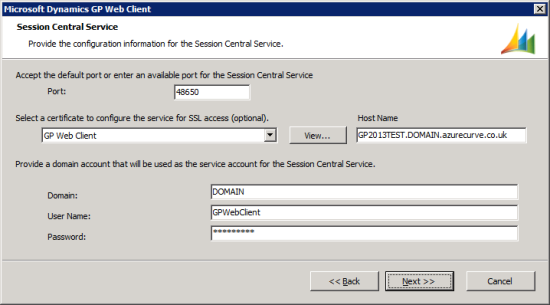
The Session Central Service controls the load balancing between the ession Hosts, when there is more than one. Define the port which will be used (the default is 48650 but can be changed) and optionally apply the SSL certificate which should be used. The Host Name should be the fully qualified Domain name.
Define the Domain, username and password of the account which should run the Session Control Service. This should, in a production environment be a Domain User account with a password which does not expire. However, there is a bug in the Beta which requires this user account to be a Domain Administrator account;
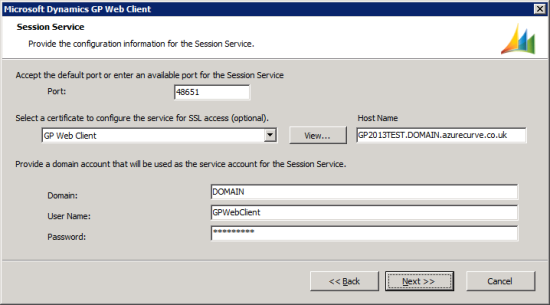
The same information is required for the Session Host service (along with the same bug requiring a Domain Administrator account) on a different port (48651);
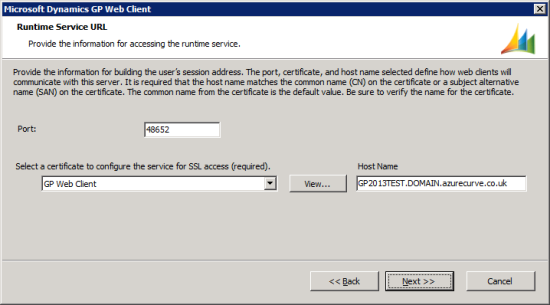
For the Runtime Service, define the port and SSL certificate which in this case is a required field;
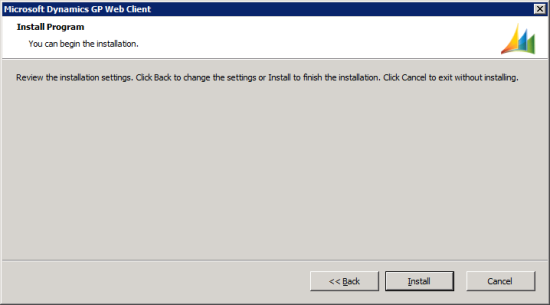
If you’re happy with your previous selections, click Install to proceed with the installation of the web client;
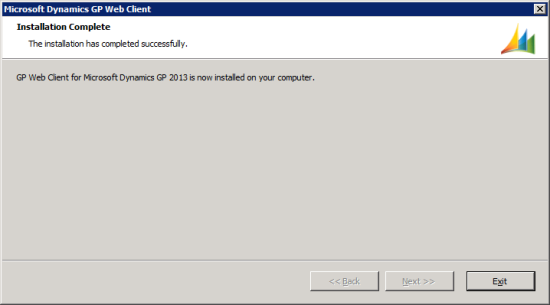
Once the installation is complete, a confirmation page will be displayed;
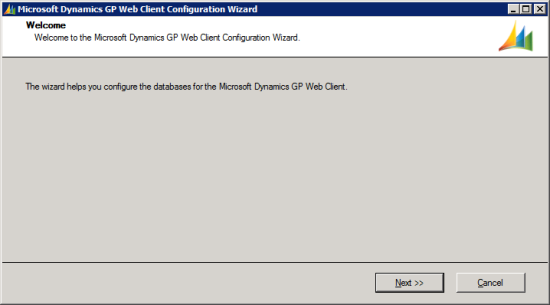
Once you’ve closed the Web Client setup utility the final step is to run the Dynamics GP Web Client Configuration Wizard.
To do this, run the Dynamics GP Web Client Configuration Wizard which has been installed into the Start menus » Administrative Tools;
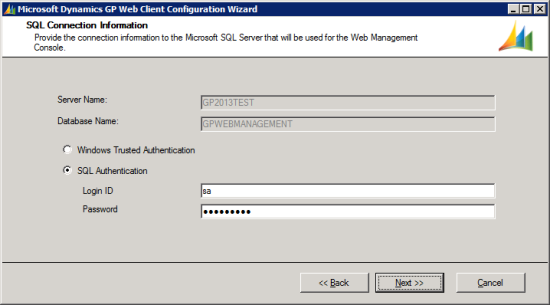
Enter the login credentials for the SQL Server which will be used for the Web Management Console;
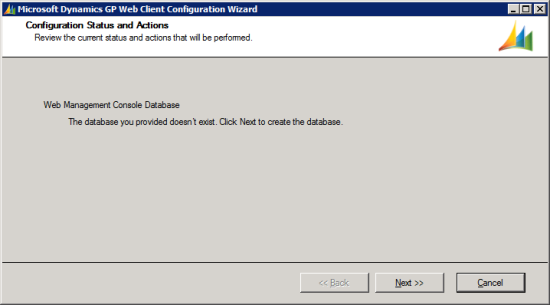
The Wizard will check to see if the database exists, and when it doesn’t will create it;
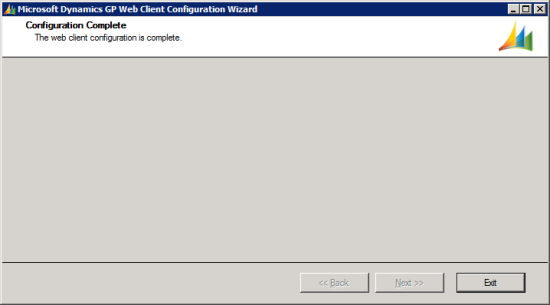
Once the installation process is complete a confirmation page will be displayed;
And with this post, the installation process of the web client is complete.
What should we write about next?
If there is a topic which fits the typical ones of this site, which you would like to see me write about, please use the form, below, to submit your idea.





Hi Ian,
I have going to the excellent documents and RSS feeds you have written for GP 2013 and have one question.
For my testing I am using a win machine which is my laptop and I have installed SQL and GP 2013 both on this single machine.
Now what I am wishing to test is web client interface for I need to install other 5 components which the books says I ahve to have Win Server 2008 r or 2012.
Is it possible to intall all these 5 components ( Web Server+Web Site+Session SCentral Service+Session Server+Dynamics GP with Web Clietn Runtime) on win laptop where I have SQL and GP Desktop ?
Regards,