 In the last post I explained how to install the Microsoft Dynamics GP client and in this one I’m going to cover the server configuration. There is no server installation as such, as this can all be done from any client installation of Microsoft Dynamics GP.
To configure the Microsoft Dynamics GP server, right click on GP Utilities and choose Run as Administrator () and log in as the SQL System Administartor (sa);
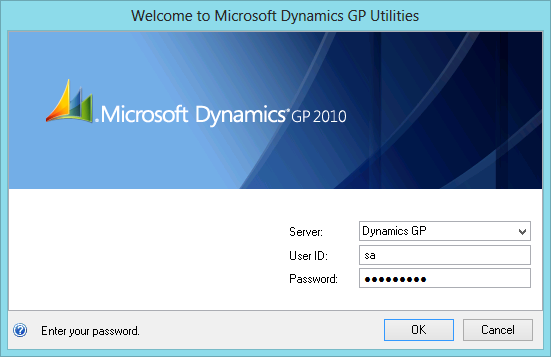
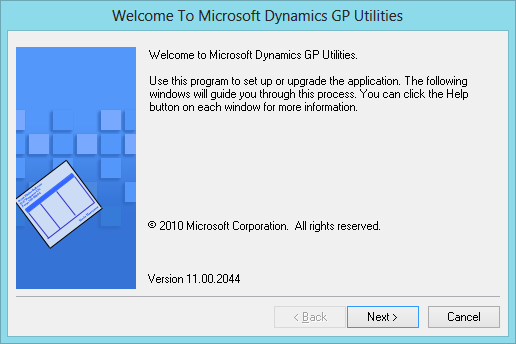
The first page of GP Utilities is just a welcome blurb explaining that GP Utilities is used to set up or upgrade Microsoft Dynamics GP;
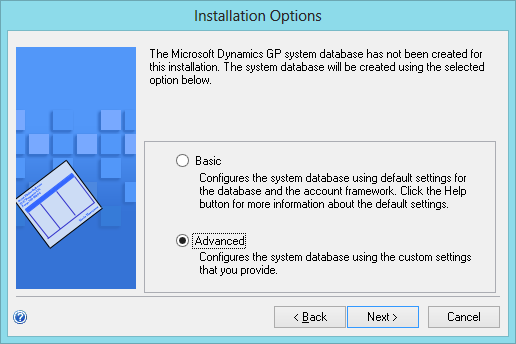
In the Installation Options options step, you can choose either Basic or Advanced. I would strongly recommend taking the latter option;
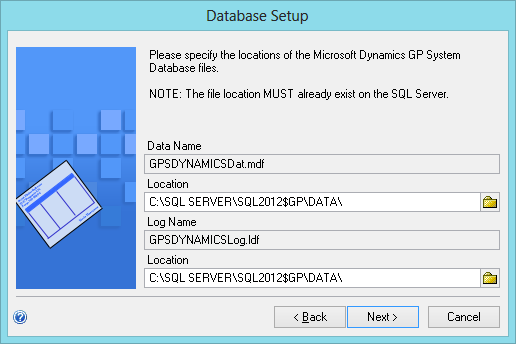
Select the destination of the data and log files for the System (DYNAMICS) database;
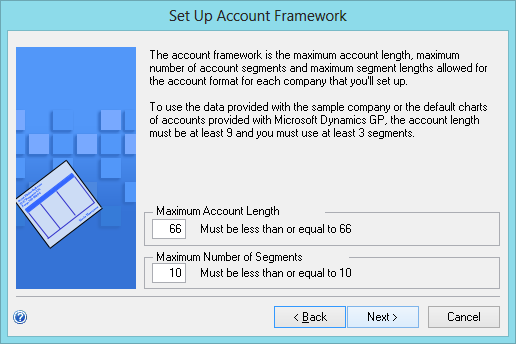
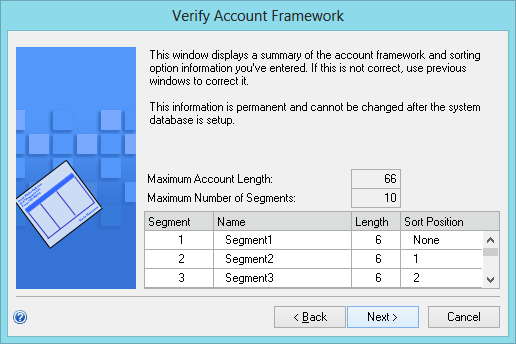
The Account Framework defines the maximum length and maximum number of segments that will be available for use within Microsoft Dynamics GP. I always define this as maximum account length of 66 and maximum number of segments of 10.
While, I’ve never worked with any client who has been anywhere close to either of these, by setting them to the maximums it gives the client expansion space without having to re-implement the system if they wanted to increase the length or add an additional segment;
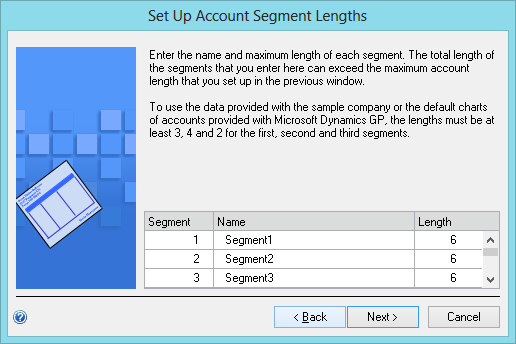
Enter the maximum length of each segment. I tend to leave these at the default of 6 for each segment as it’s never caused a problem but before I do this stage I will have already spoken to the client to make sure that it won’t cause any problems;
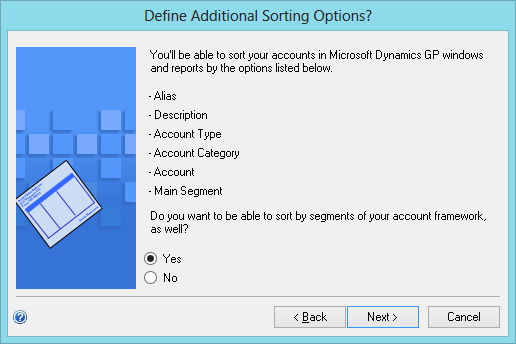
You can define additional sorting by segments other than the Main Segment;
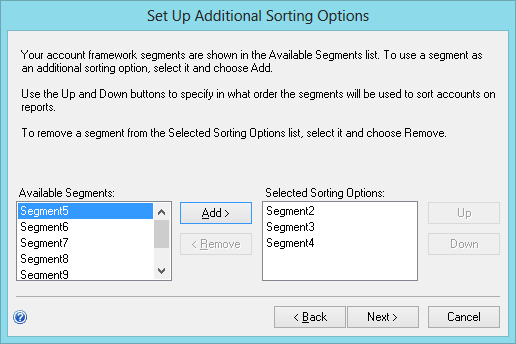
As I said Yes to defining additional sort options, I can now select which of the available segments I want to be able to sort by. In this case I have selected Segment2, Segment3 and Segment4;
Review your setup information and make sure the maximums and segment lengths are correct;
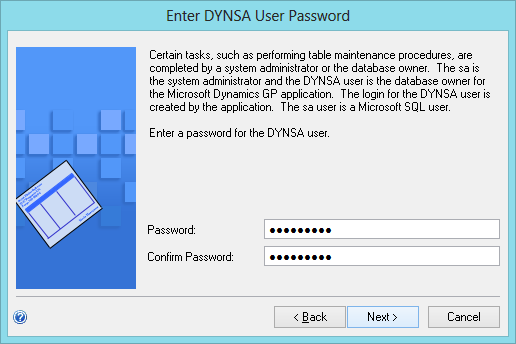
A Dynamics System Administrator (DYNSA) user will be created during the configuration process which should be used instead of the sa user within Microsoft Dynamics GP. In this step you can define the password;
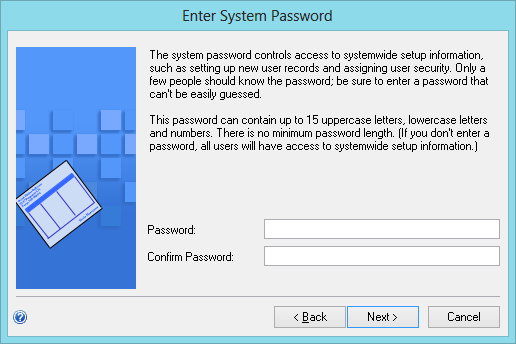
A System Password can be defined which is used as a second layer of security to some of the windows in Microsoft Dynamics GP. The standard security model of Microsoft Dynamics GP is task/role based where users can only access windows and reports to which their user has a role permissions to.
The System Password gives an additional level of security to some windows such as the User and Security windows where even if the user has permissions to the window they can’t enter the window unless they also know the System Password;
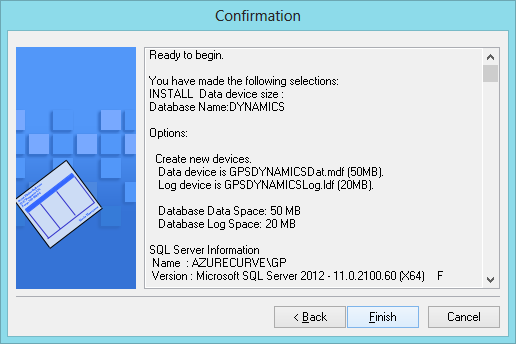
Check your installation options and make sure everything is correct before proceeding;
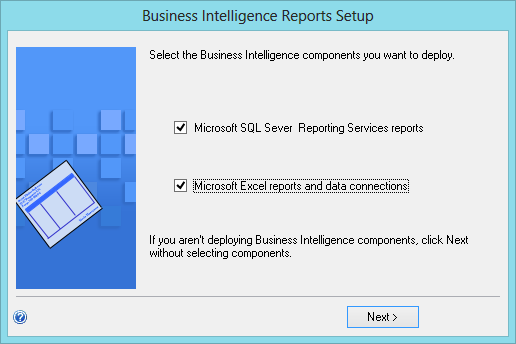
Once the installation is complete, GP Utilities will prompt to configure the Business Intelligence options for SQL Server Reporting Services and the Excel reports. If you would like to configure either of these, check the relevant checkbox;
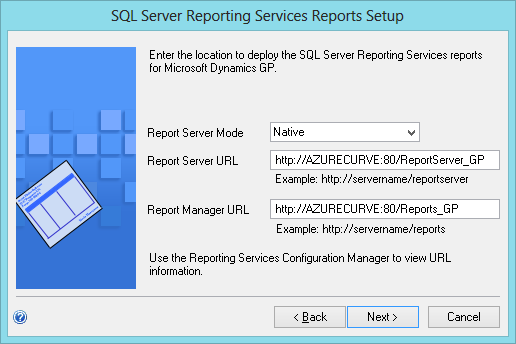
If you’ve chosen to deploy the SQL Server Reporting Services Reports, select the mode to install (in this example I’ve gone Native) and define the report and report manager URLs;
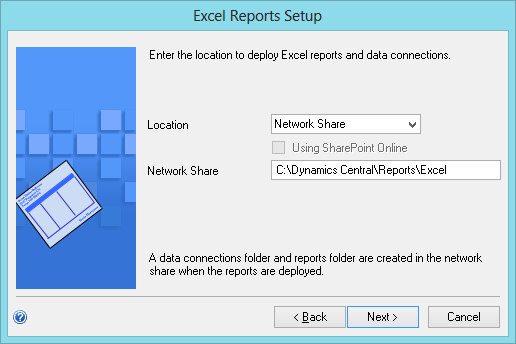
If you selected Excel Reports, define the Network Share location. The screenshot is set to the C drive as this is a test machine, but for a real world implementation I would recommend using a UNC path to a shared folder;
The final page of the system configuration is the Additional Tasks window
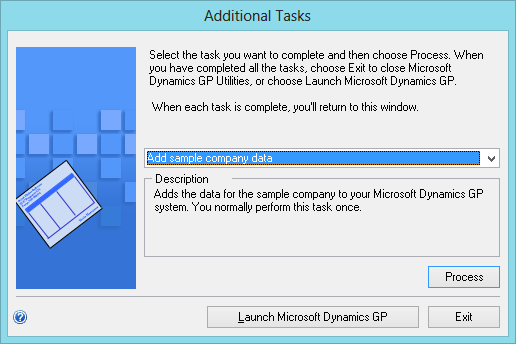
Over the next couple of posts, I’ll show how to create a new company and also how to deploy the Fabrikam, Inc. demo company.
What should we write about next?
If there is a topic which fits the typical ones of this site, which you would like to see me write about, please use the form, below, to submit your idea.


2 thoughts on “How To Install Microsoft Dynamics GP 2010 – Server Configuration”