 Well, Windows 8 has landed on MSDN and TechNet for subscribers and is due for general release in, I believe, October.
This means it is time to interrupt the scheduled posts on installing the Web Services for Microsoft Dynamics GP. Having got my hands on an MSDN version I thought a quick run through on how to install it might be in order.
I am installing this into a virtual machine so I can have a little test before replacing one of my main systems with it.
I mounted the ISO image from MSDN in the virtual machine settings and launched the VM. The first part of the installer shows the new Microsoft Windows Metro Modern logo;
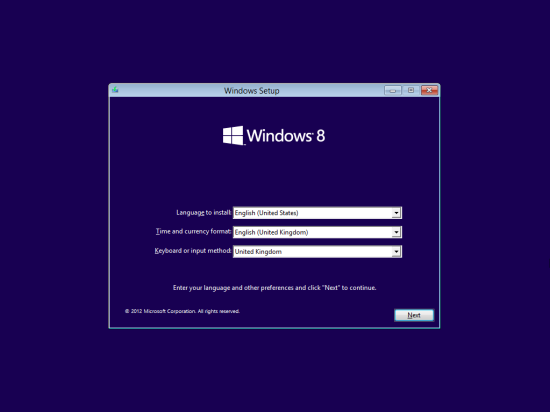
The first step of the installer is to select the language (disturbingly real Englist is not available as a selection; only English (United States)), time and currency formats and the keyboard or input method;
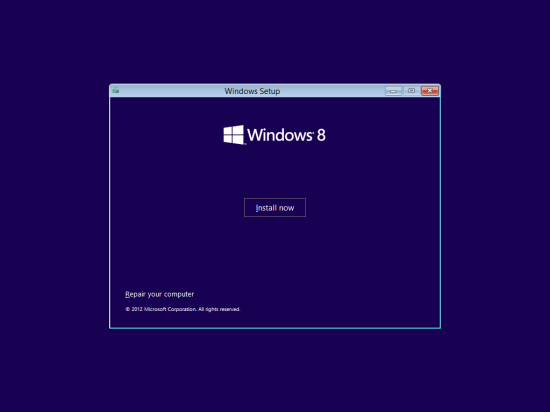
Second is an option to Install now or, in the bottom left corner, one to Repairs your computer;
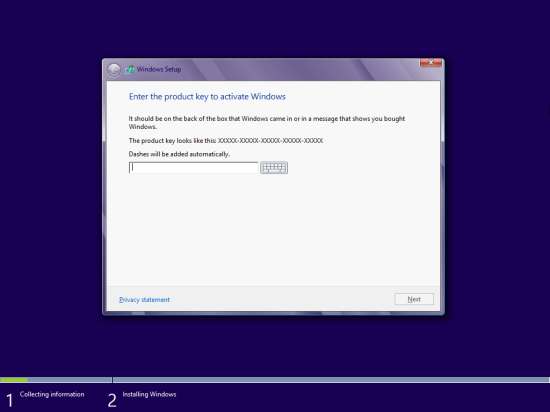
Third the product key needs to be entered. This is a reversion to the pre-Vista method of key entry (in Vista and 7 the key could be entered post installation);
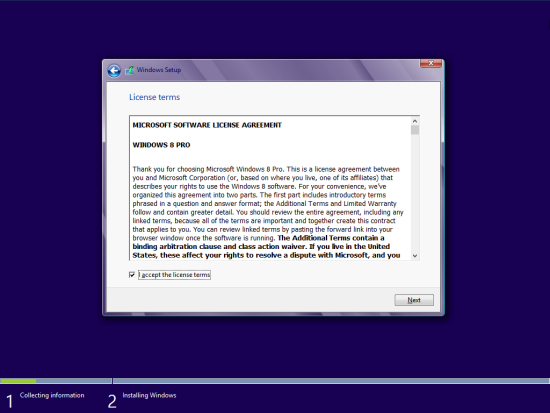
Fourth, accept the Licence terms (I’ll admit I didn’t read them);
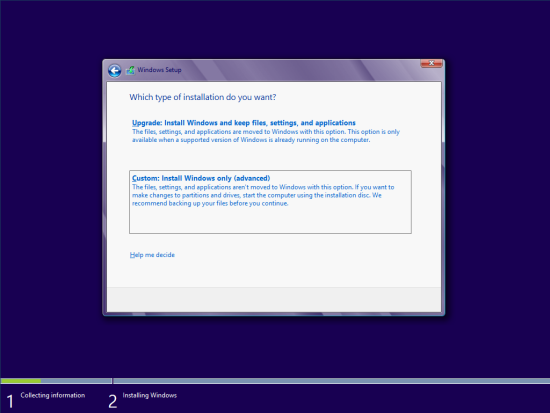
Fifth, choose the type of installation to perform; an Upgrade where you keep files, settings and applications or a custom install of Windows to install from scratch. As this is a new virtual machine I am going the custom route;
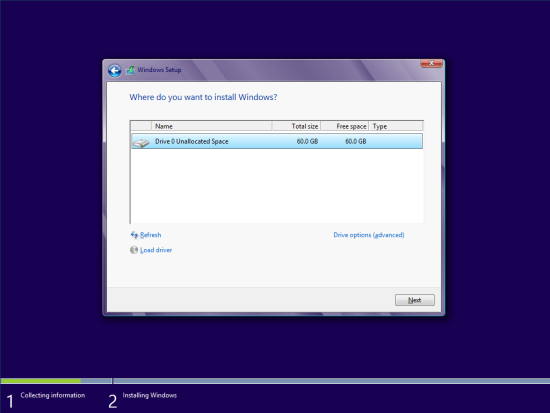
Sixth, choose on which drive to install Windows;
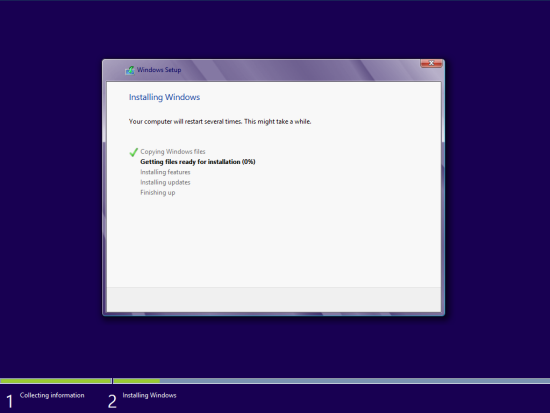
At this point you get to watch the setup utility copy files, prepare then and then install features and updates for a few minutes;
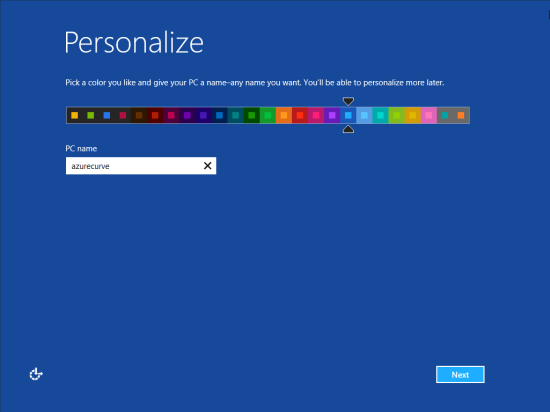
This is a step I don’t like. You get to personalisze (damn US English) Windows, but the options are very limited. On this occasion I’ve chosen a medium blue with light blue buttons but I would much rather be able to supply HEX or RGB colour values to pick my own colours. This is also where you name your PC (I’m calling mine azurecurve);
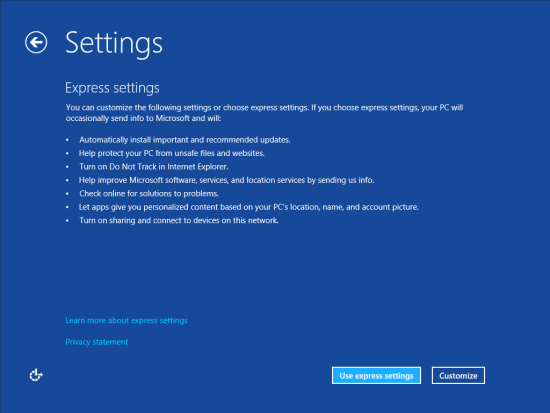
Ninth, you can choose to go with the default settings which are laid out for you to read or you can, as I have, choose to customise (again with the US English; why couldn’t I have picked real English?) the settings;
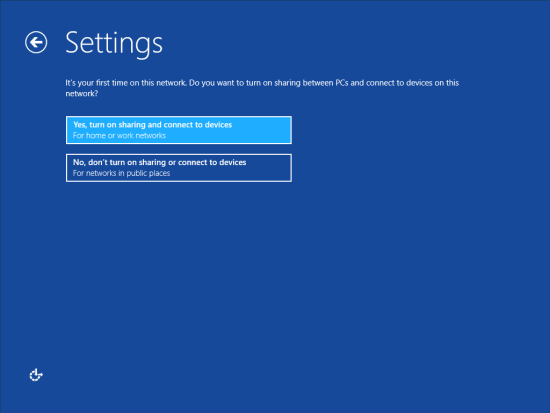
Now that we’re in the custom settings, you can choose whether to turn on sharing and connect to devices or to leave it off;
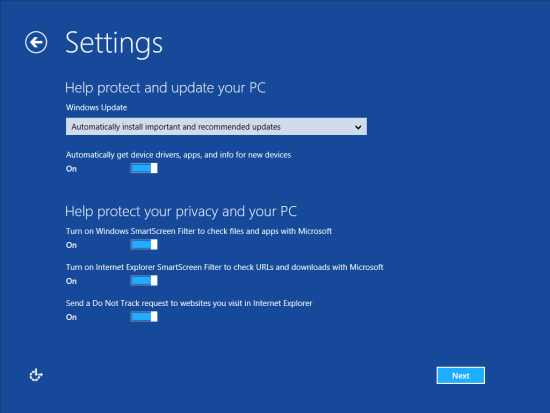
Choose the options you want to help protect and update your PC such as Windows Updates, Windows SmartScreen Filter and the controversial Send a Do Not Track request to websites you visit in Internet Explorer.
When Microsoft announced this last feature, there was an outcry from the advertising industry as Microsoft said it would be on by default. Microsoft did appear, at the time, to backtrack on this, but with the release of Windows 8 Microsoft have actually stood their ground and made this the default option;
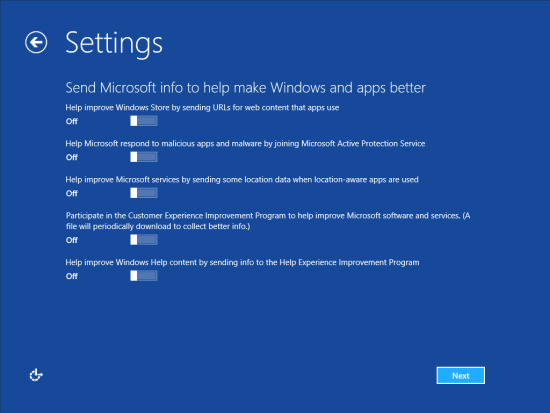
Next, choose the optuions for sending Microsoft information to make Windows and apps better. These options are all off by default but if you’d like to give annonymous feedback to Microsoft you can turn these options on;
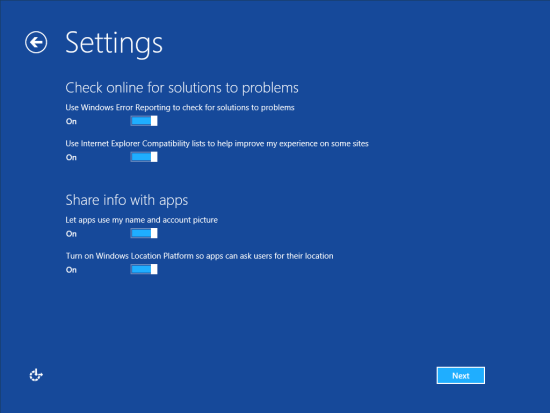
The thirteenth step is to choose your settings for checking online for solutions to problems or share info with apps, all of which are defaulted on;
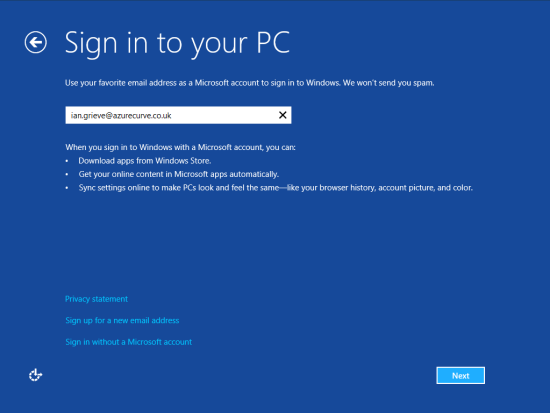
The fourteenth step is to sign into Windows. This can be done by entering a Microsoft account (formerly a known as a Windows Live account) or you can choose to create a new Microsoft account or to sign in without a Microsoft account. This latter is the option to sign in using a traditional Windows account. I’m going the Microsoft account route;
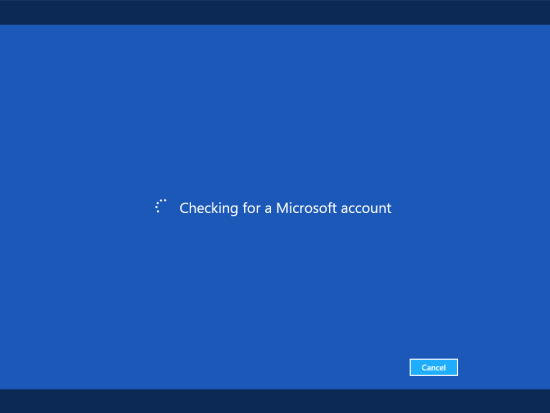
A progress circle is shown while the PC connected to the online serves to verify the supplied Microsoft account is valid;
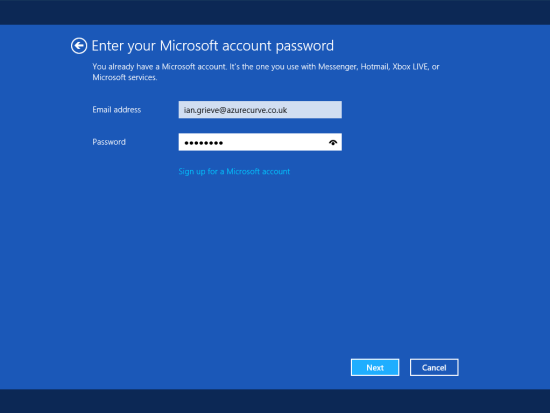
Once Windows has verified the account is a valid one, you’ll be prompted to enter your password;
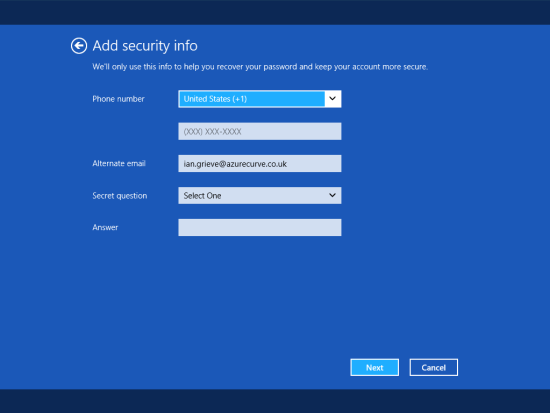
You need to add your security information such as phone number, alternative email and a secret question and answer. There security questions are very limited in number and cover the fairly obvious questions such as Mother’s place of birth and Grandfather’s job;
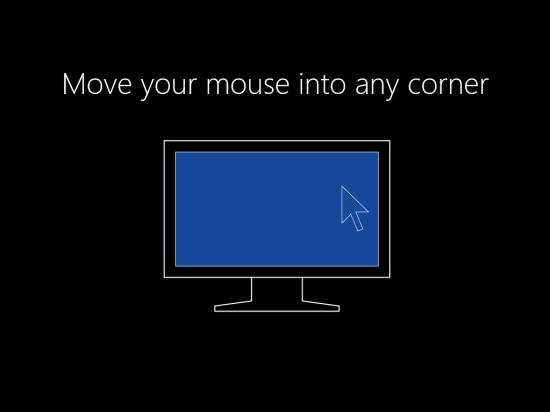
After clicking next, Windows will start preparing the final configuration and shows an on screen demonstration of the Windows desktop hot corners for new users;
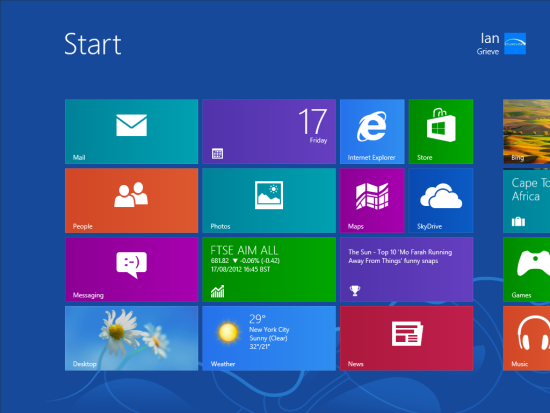
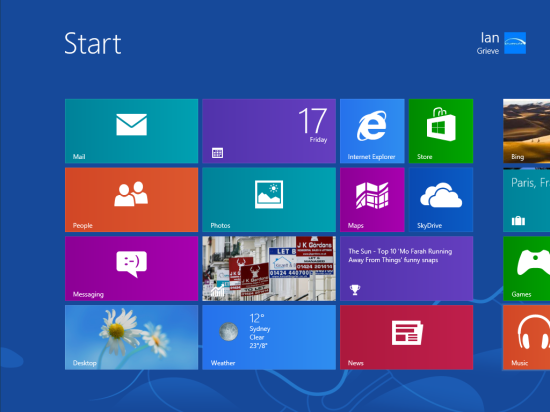
Once that process is done, you’ll be presented with the colourful start screen;
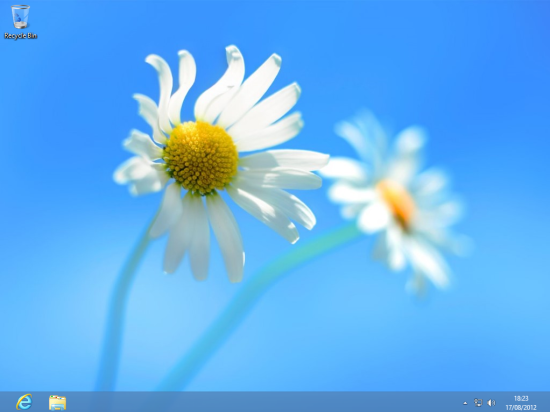
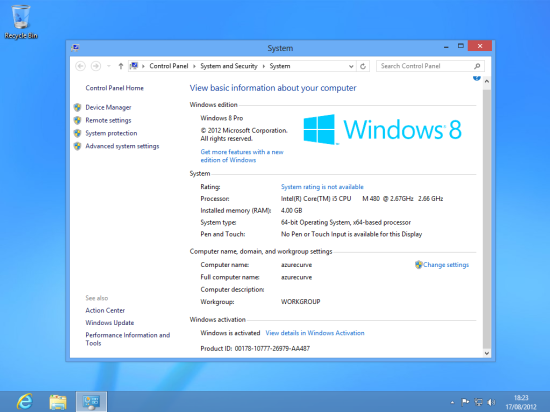
Click the desktop tile in the bottom left corner and you’ll be taken to the traditional desktop (which will default to a random picture) where all of your current programs will still run (some caveats to tis will obviously apply but SQL Server and Mictosoft Dynamics GP both ran fine in the Developer Preview);
The old Aero theme has disappeared from Windows and has been replaced with a more Modern looking theme where the window colour matches to the predominant colour of the background image;
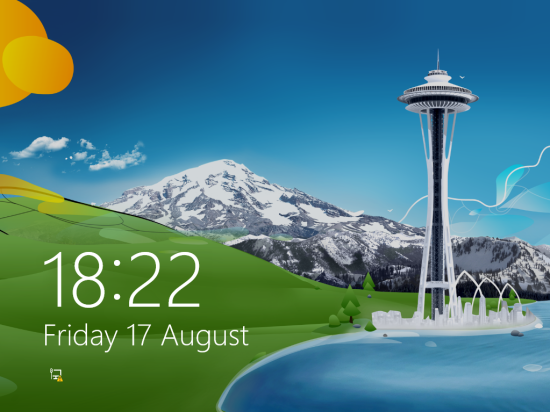
I closed windows down and then rebooted to see if there were any differences in the normal login process. When Windows started I was presented with an image depicting a stylised view of Seattle;
In the Developer Preview you needed to swipe down a fair distance to get to the logon prompt but in the release version simply clicking does the job;
After you’ve logged in, you’ll be back to the Start screen showing the live tiles;
Later on I’m going to install Microsoft SQL Server 2012 and Microsoft Dynamics GP 2010 SP3 onto this VM so I can have a test of all three in combination.p /Windows 8 Setup – New Windows Theme
What should we write about next?
If there is a topic which fits the typical ones of this site, which you would like to see me write about, please use the form, below, to submit your idea.




1 thought on “How To Install Windows 8”