 This is the fourth post in the series on how to install the Connector for Microsoft Dynamics GP; the first three posts covered the prerequisites, installation and adapter configuration. This one will show the step-by-step process to create a new integration between Microsoft Dynamics GP 2010 and Microsoft Dynamics 2011.
To create a new integration between Microsoft Dynamics GP and Microsoft Dynamics CRM, open the Connector for Microsoft Dynamics from the Windows Start menu ().
To create a new integration, click the New Integration button on the toolbar;
In this window, you have a choice to create a new integration from blank or by using a template;
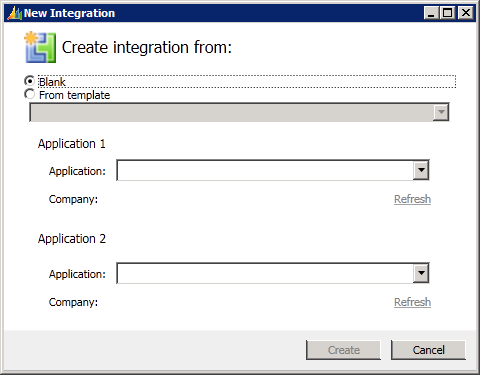
In this example, I’m going to use the template for Dynamics GP 2010/Dynamics CRM 2011 (using CRM Accounts);
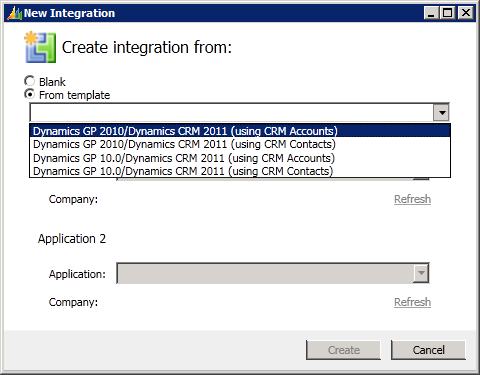
Select the Companies which the integration will work between from the two drop down lists (the top one is Dynamics GP and the bottom Dynamics CRM);
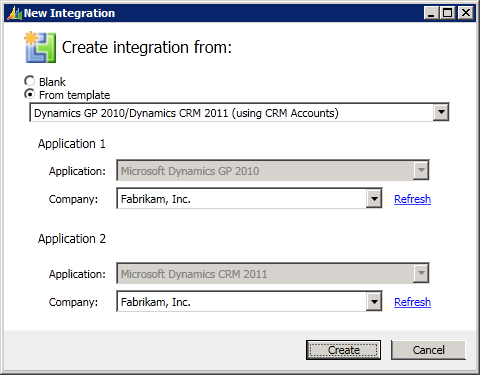
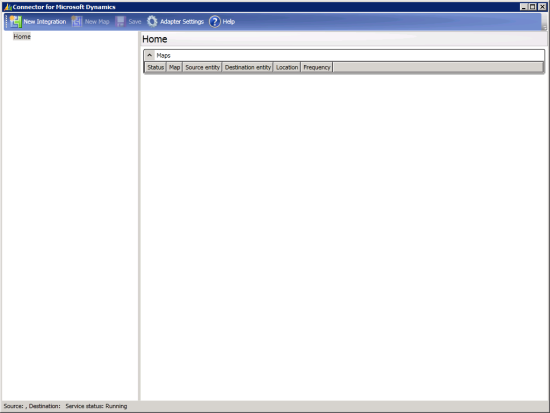
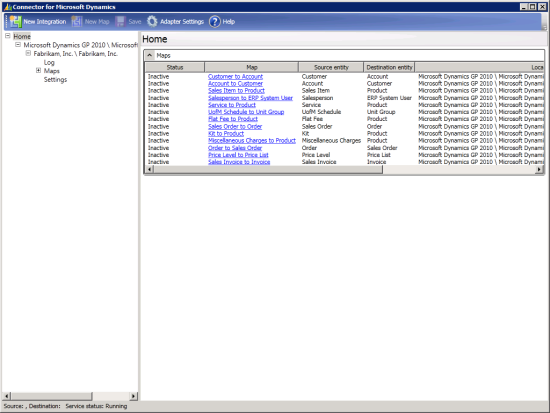
After clicking the create button, you’ll be returned to the Connector for Microsoft Dynamics main window which will be showing the integrations which have been created from the template;
Before any of the integrations can be activated there are a few other issues which need to be resolved/checked which I’ll step through in the next posts of this series.
What should we write about next?
If there is a topic which fits the typical ones of this site, which you would like to see me write about, please use the form, below, to submit your idea.




4 thoughts on “How To Install Connector for Microsoft Dynamics GP – Create A New Integration”